Italy is full of via ferratas. It’s no coincidence that the very first ones appeared right here in Italy, in the Dolomites region, during World War I. They were installed to facilitate troop movement across difficult, mountainous terrain and serve as protection against enemy attacks. After the war, many of these via ferratas were abandoned, only to be later restored for tourism. One such historic trail is Via Ferrata de Luca Innerkofler. It was dedicated to two mountain warfare veterans – Sepp Innerkofler and Piero De Luca. Today, this via ferrata offers an opportunity not only to admire the famous Tre Cime di Lavaredo towers from above but also to walk through historic roads and tunnels that whisper stories of the war.
The Via Ferrata de Luca Innerkofler requires a moderate level of physical fitness and some technical skills, but with the right gear and preparation, it is accessible to many.
General Information about Via Ferrata de Luca – Innerkofler
📍 Location: Sesto Dolomites, Italy
| 🧗♀️ Difficulty | ⏰ Duration | 📏 Total distance | 📈 Elevation gain | 🔗 Wire length |
| B Suitable for beginners | 6 h | 9 km | 591 m | 1000 m |
- ⛰️ Highest Point: Monte Paterno (2,744 m)
- 🅿️ Parking: Rifugio Auronzo. To manage traffic, access to this hut is paid and requires a parking fee. This can be done online at the Pass Auronzo website. Registration is required. I highly recommend purchasing tickets in advance as spots fill up quickly.
- 🚌 Arrival by Bus: To avoid the entry/parking fee, you can leave your car in the town of Dobbiaco and take bus 444 up to Rifugio Auronzo. Tickets can be purchased on the Drei Zinnen website. Again, book in advance!
- 🪢 Equipment & Preparation: For more information on via ferrata difficulty levels, required gear and preparation, read our article: Via Ferrata: What You Need to Know Before Starting.
Via Ferrata de Luca Innerkofler: Stages and Progression
Route map
- You can download the topo map for Via Ferrata de Luca Innerkofler from the Bergsteigen website or follow the AllTrails map.
Stage #1: Rifugio Auronzo – Rifugio Lavaredo
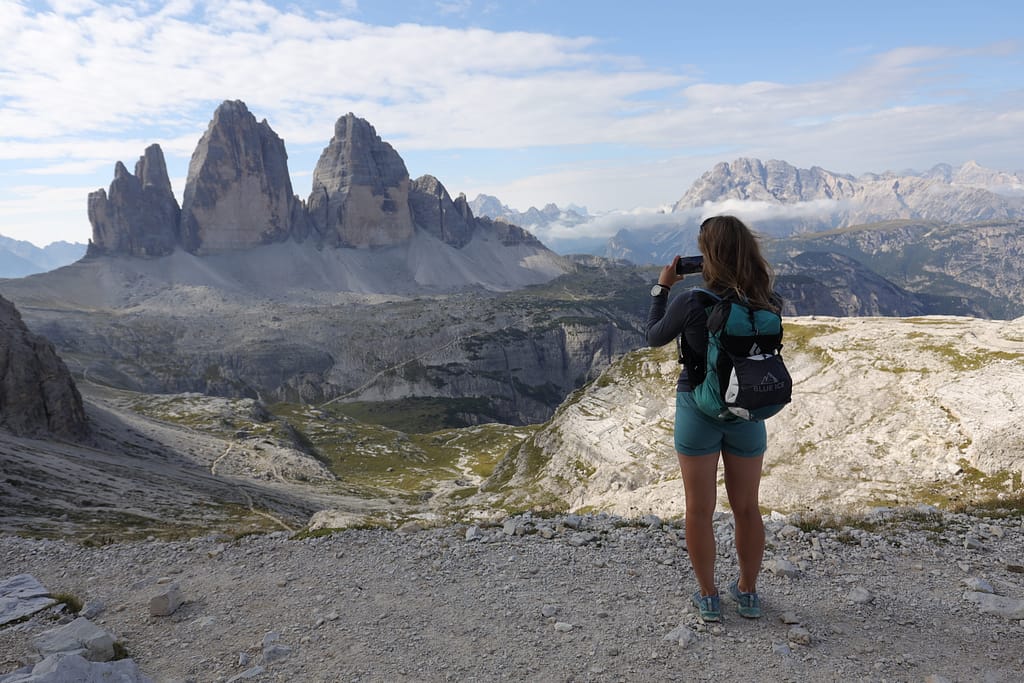
We started our journey at Rifugio Auronzo. This hut sits at the base of the Tre Cime di Lavaredo towers, and even as you step out of the car, you’re greeted with breathtaking views. From here, we traveled along a wide path to Rifugio Lavaredo.

Stage #2: Rifugio Lavaredo – Rifugio Locatelli
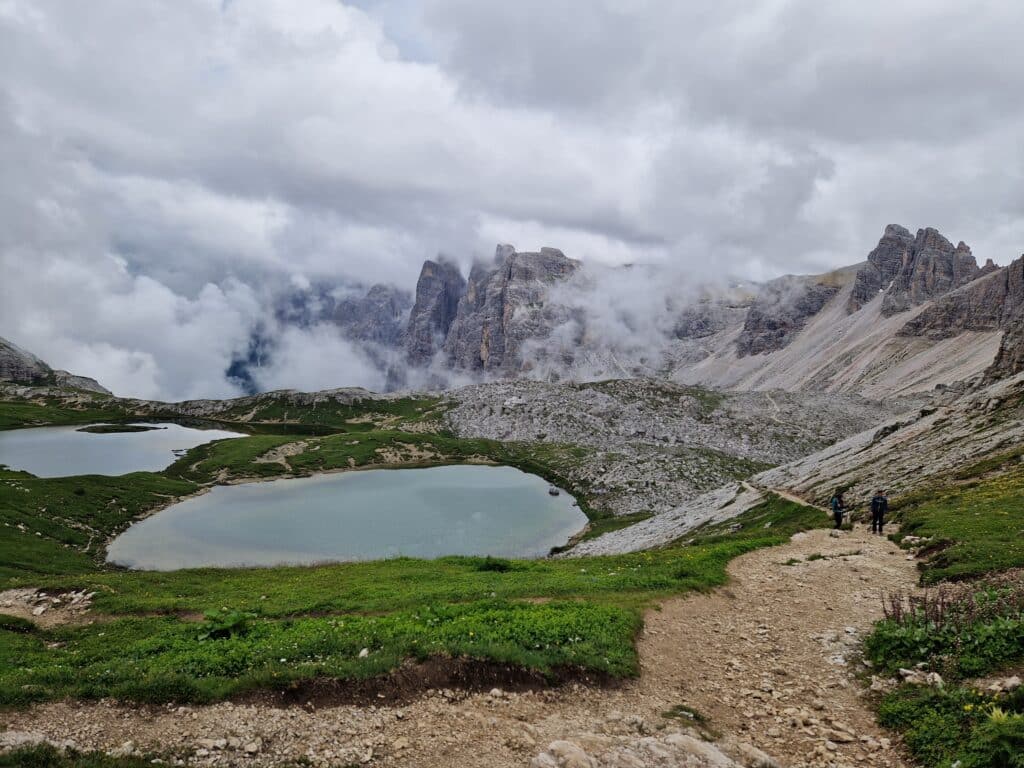
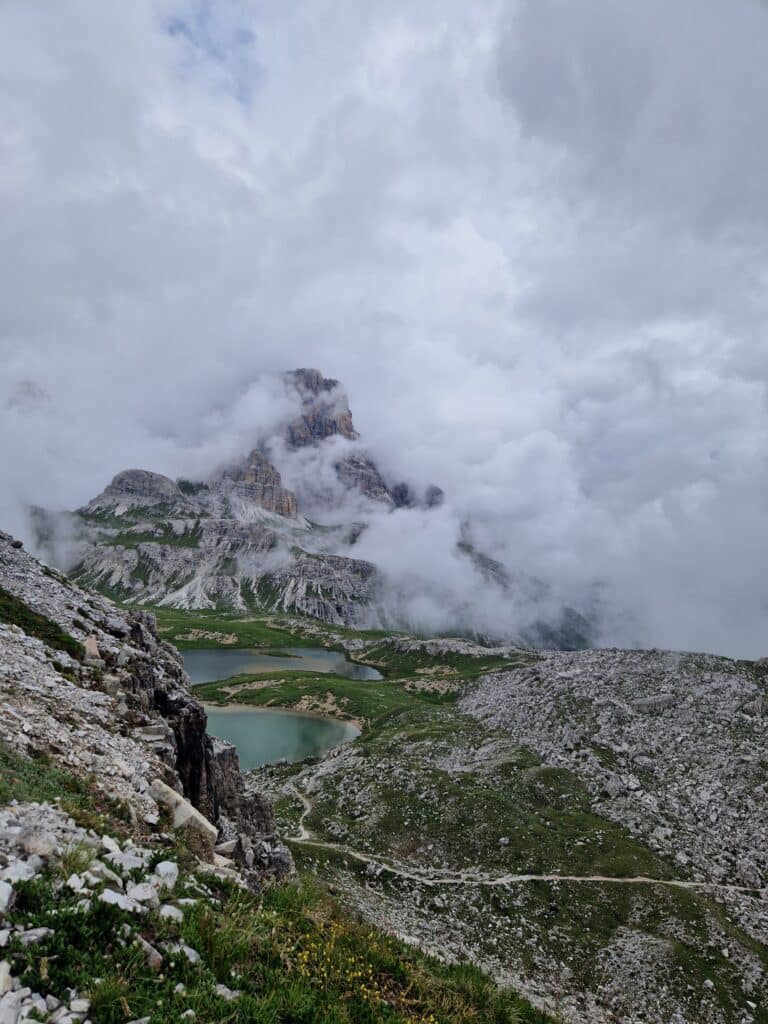
After easily reaching Rifugio Lavaredo, we didn’t linger long and moved onto trail 101 toward Rifugio Locatelli. Little by little, even more beautiful views of the Tre Cime towers began to unfold. It started taking our breath away; we constantly felt the urge to stop and take photos. Upon reaching Rifugio Locatelli, small, charming lakes came into view.
Stage #3: Rifugio Locatelli – Monte Paterno viršūnė, 2744m
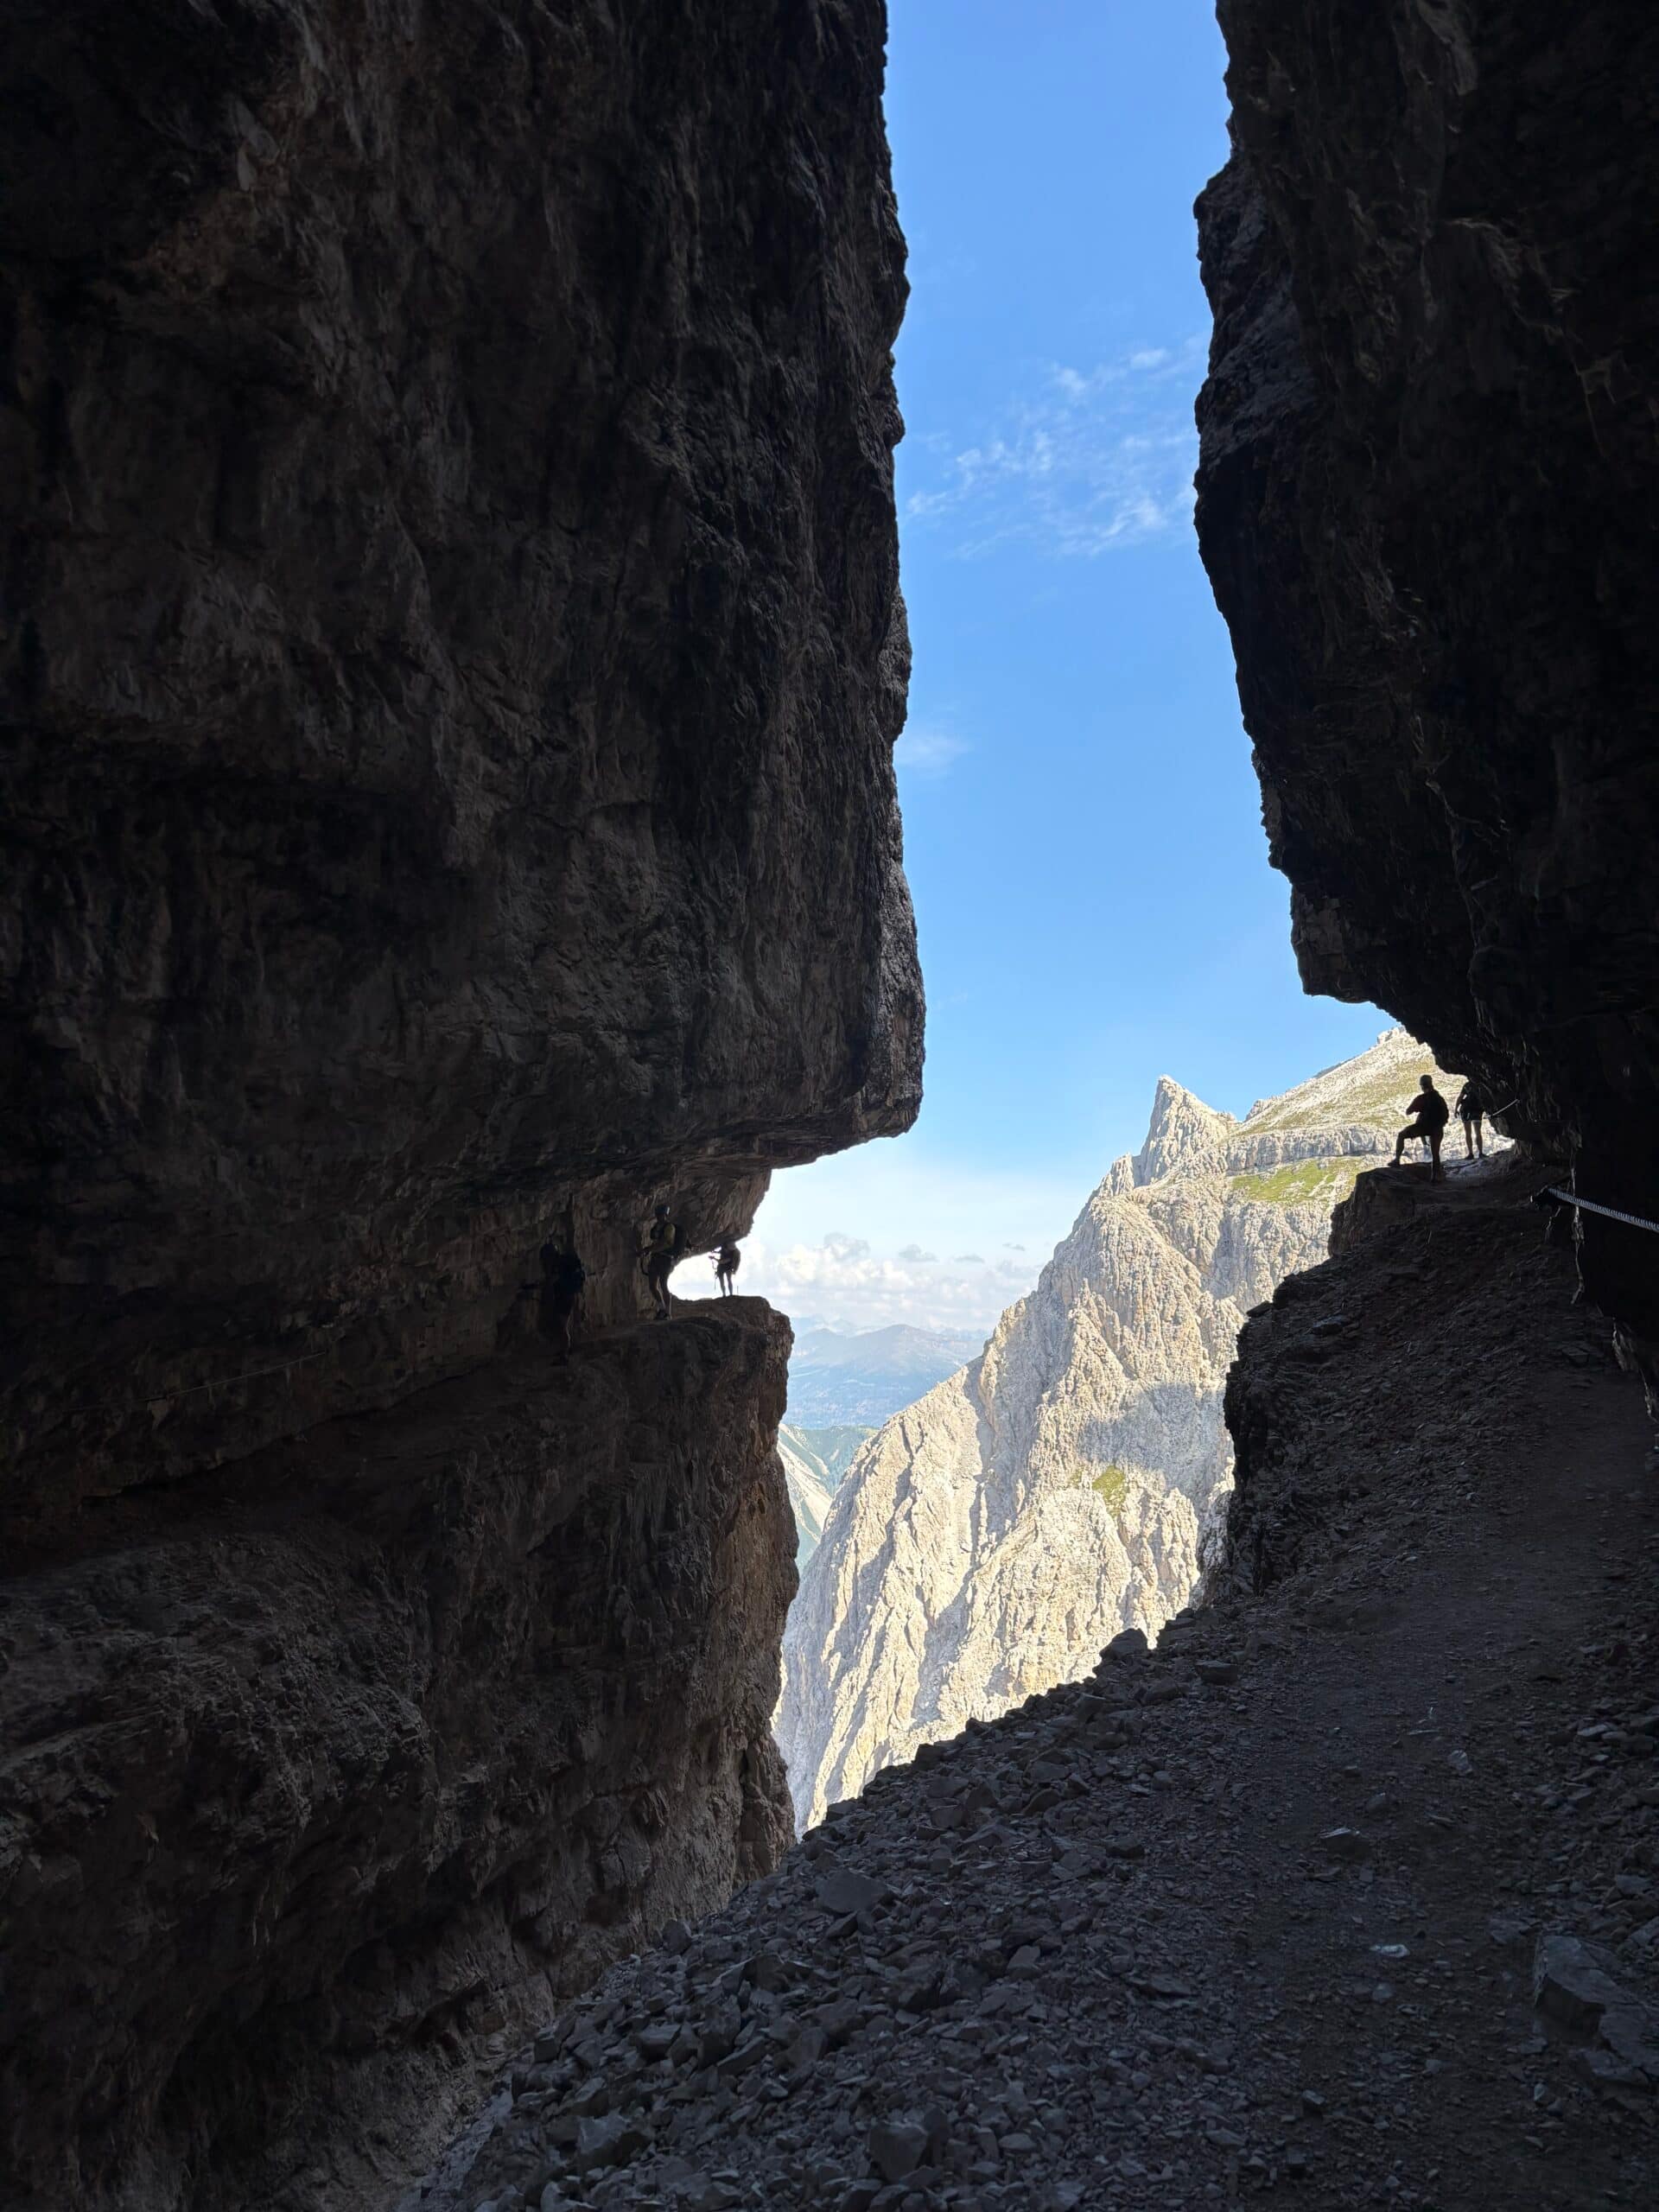
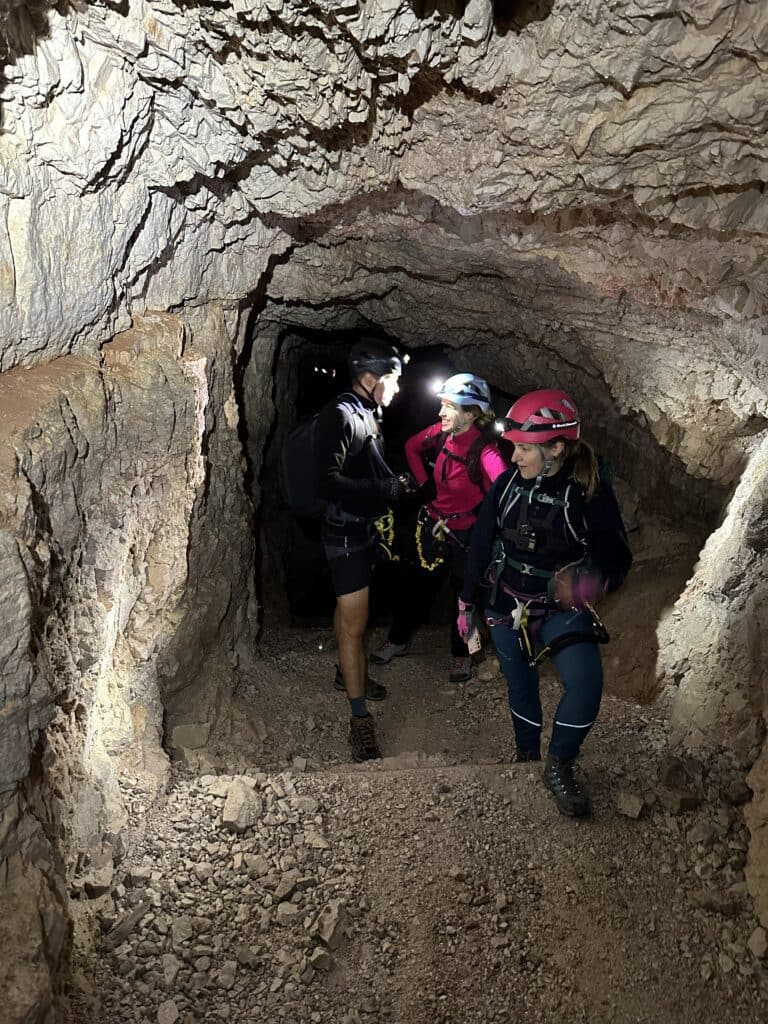
From Rifugio Locatelli, we turned east. Soon enough, we found the entrance to the World War I tunnels. Before heading inside, we put on our harnesses, clipped in our via ferrata sets, and donned our helmets and headlamps. You definitely need a headlamp—even though there are “windows” cut into the tunnel here and there, the light is nowhere near sufficient. It was an incredibly interesting and unique experience: climbing stairs through dark, damp passages while holding onto chains.
Emerging from the tunnels, we stepped back into the light and reached the start of the Via Ferrata de Luca Innerkofler. This is where the steel cables begin, and the climb becomes much steeper. We started using our via ferrata safety sets in earnest.
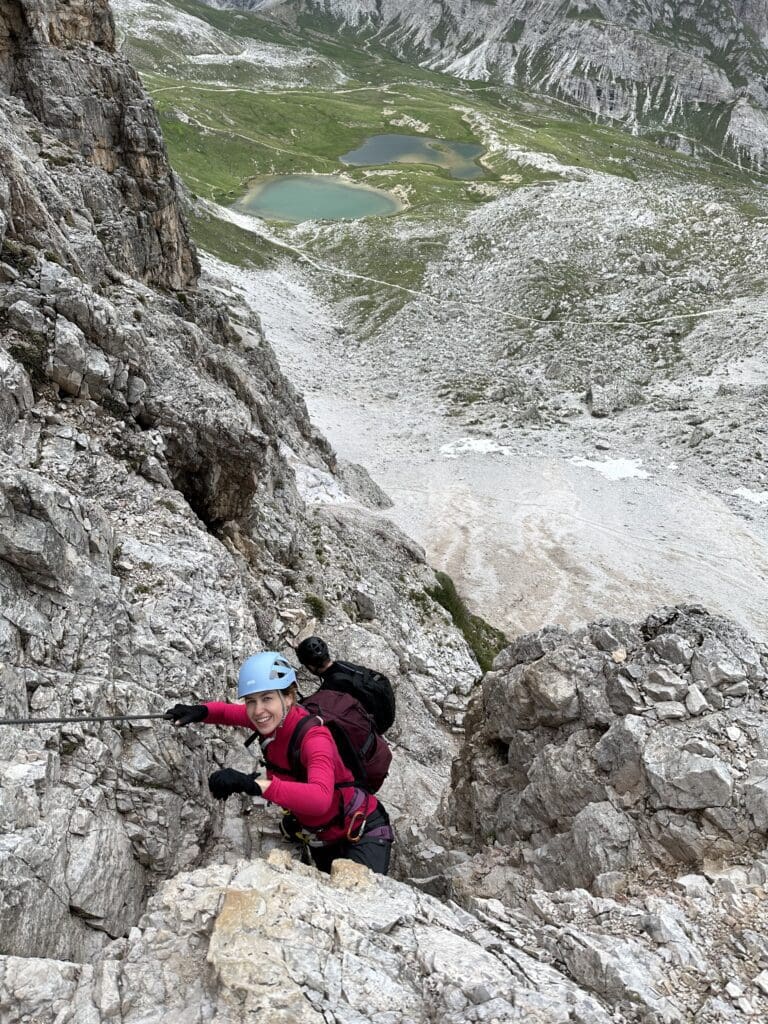
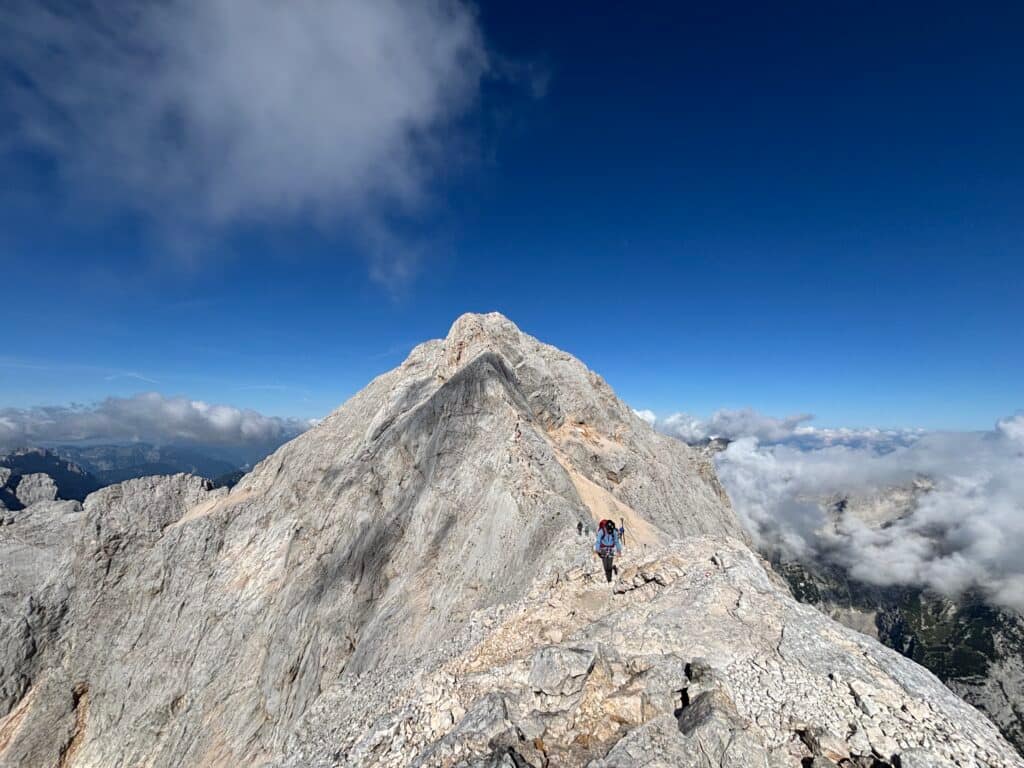
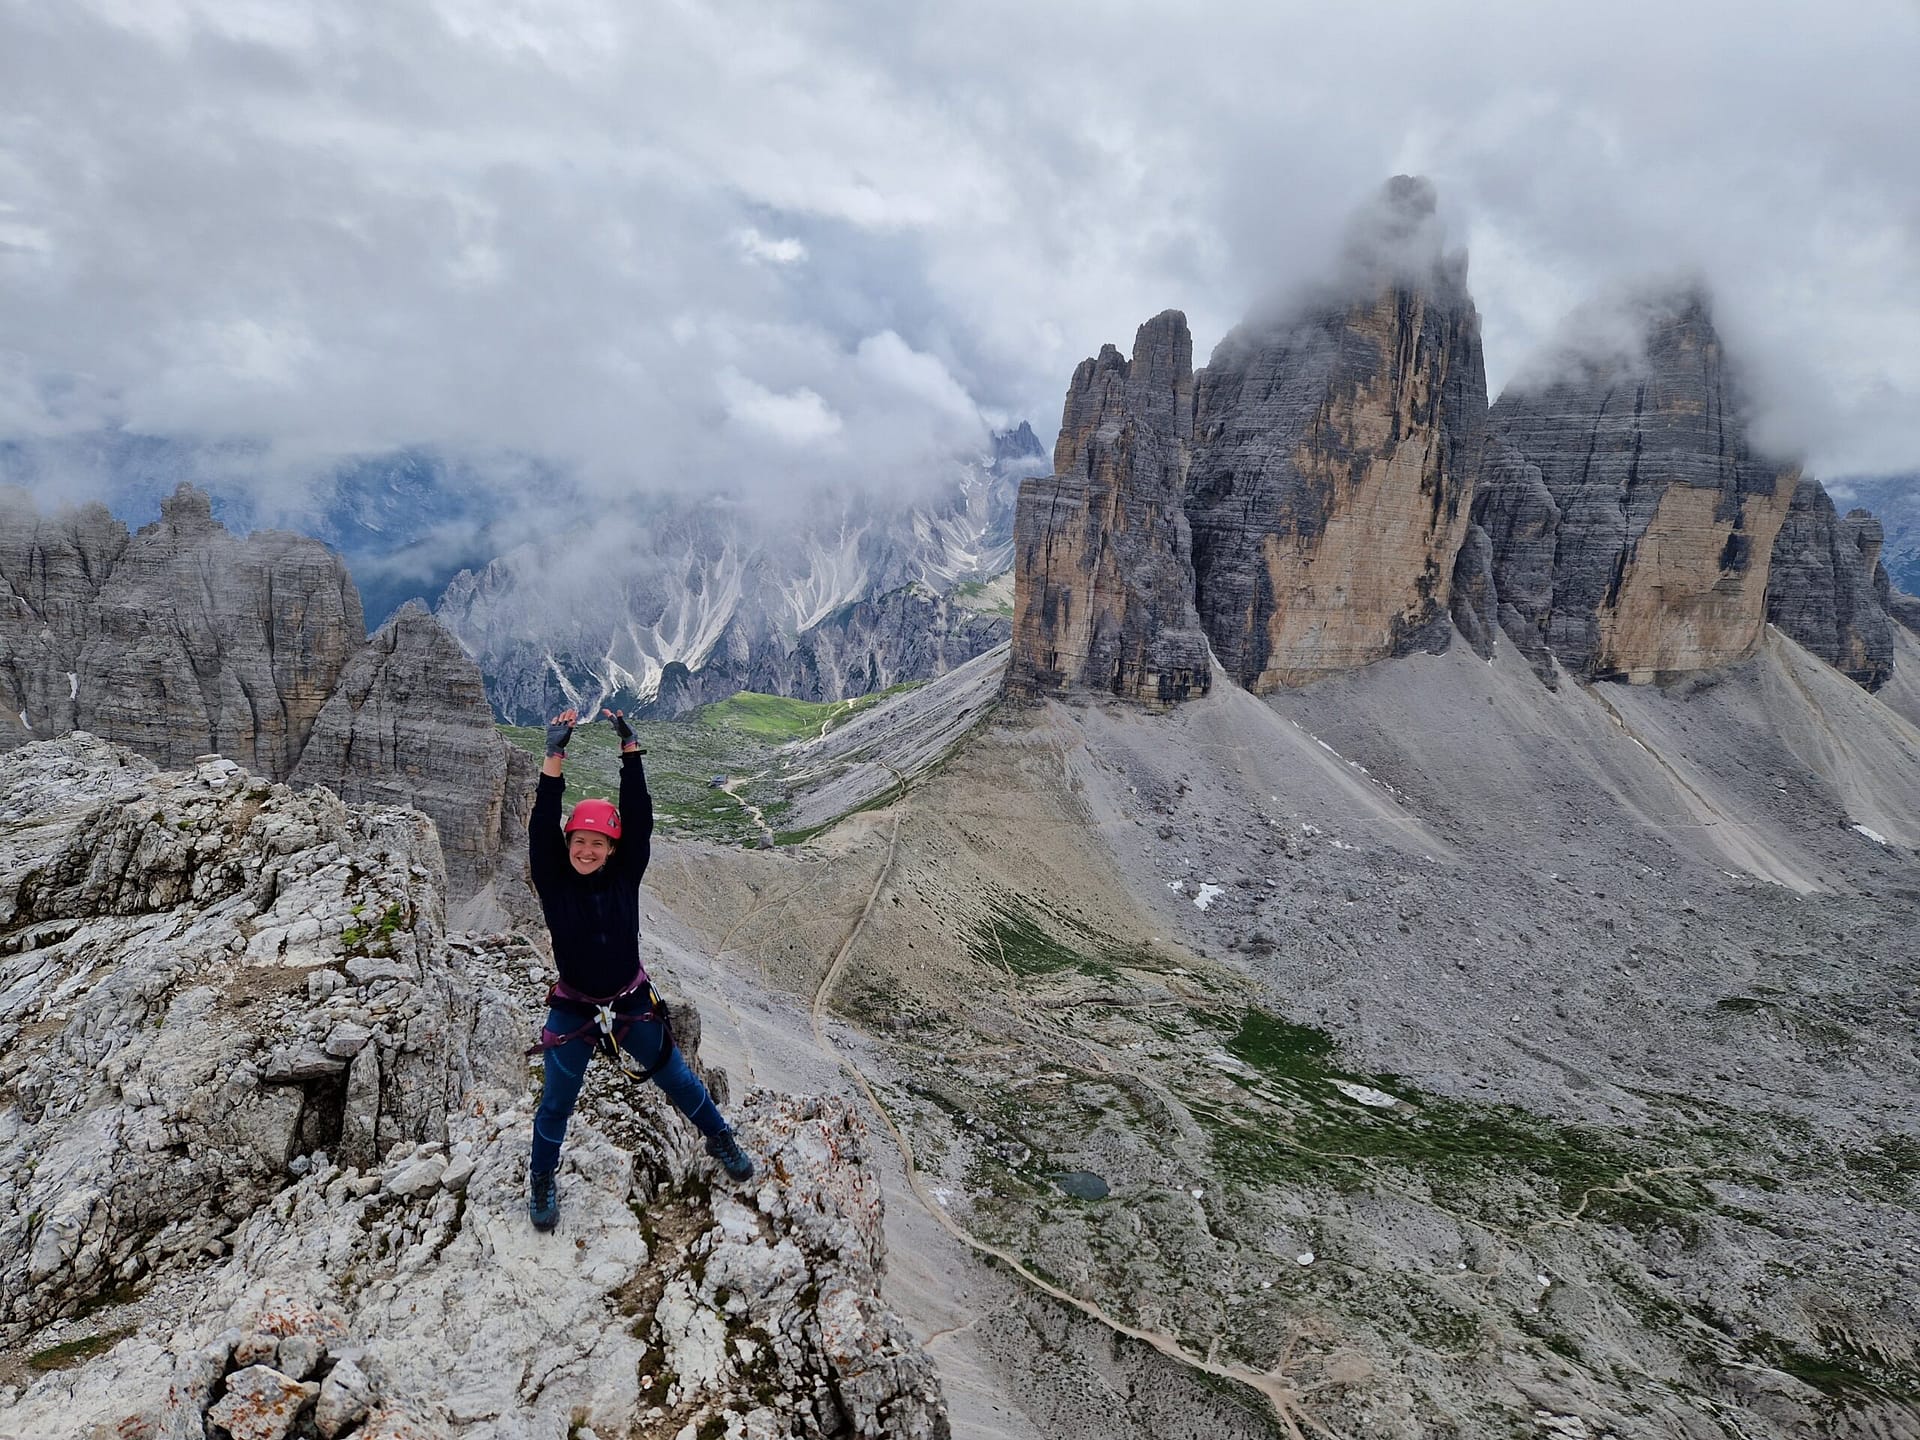
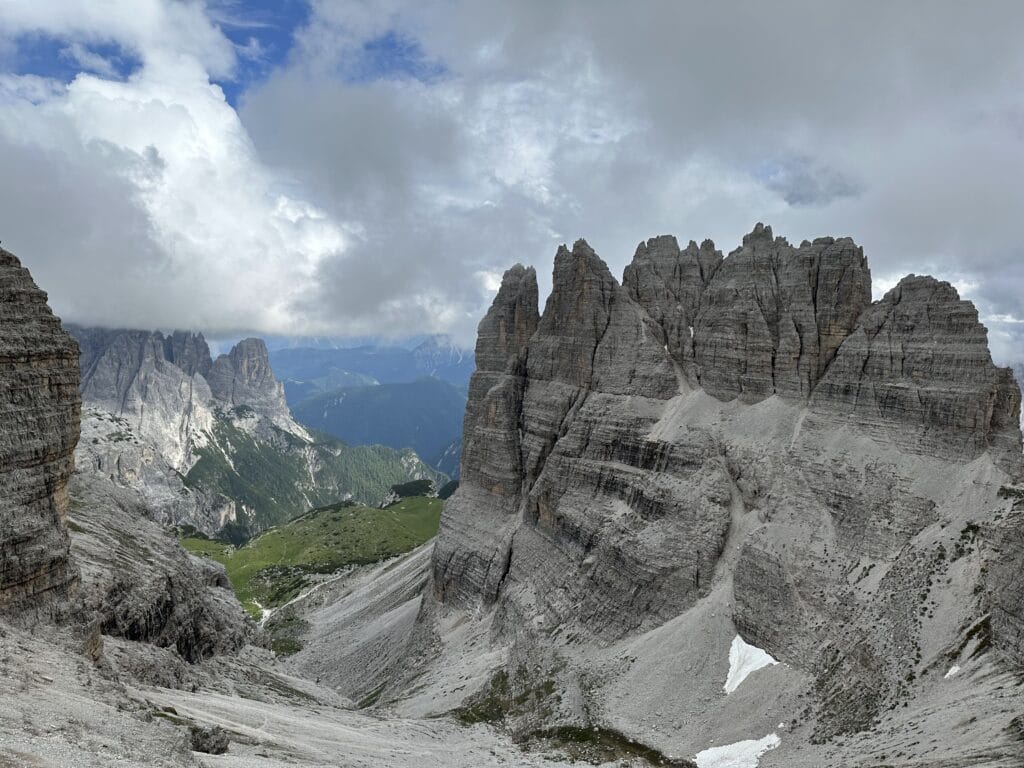
We climbed up to the Forcella del Camoscio pass. Here, we had to decide: do we complete the loop and head back toward Rifugio Lavaredo, or do we push for the summit of Monte Paterno? It wasn’t the sunniest of days, but we decided to go for it. Just as we reached the summit cross, the clouds that had been swirling around us parted, revealing the Tre Cime di Lavaredo towers like the cherry on top of the cake! It was absolutely the right decision.
Stage #4: Monte Paterno – Way Back
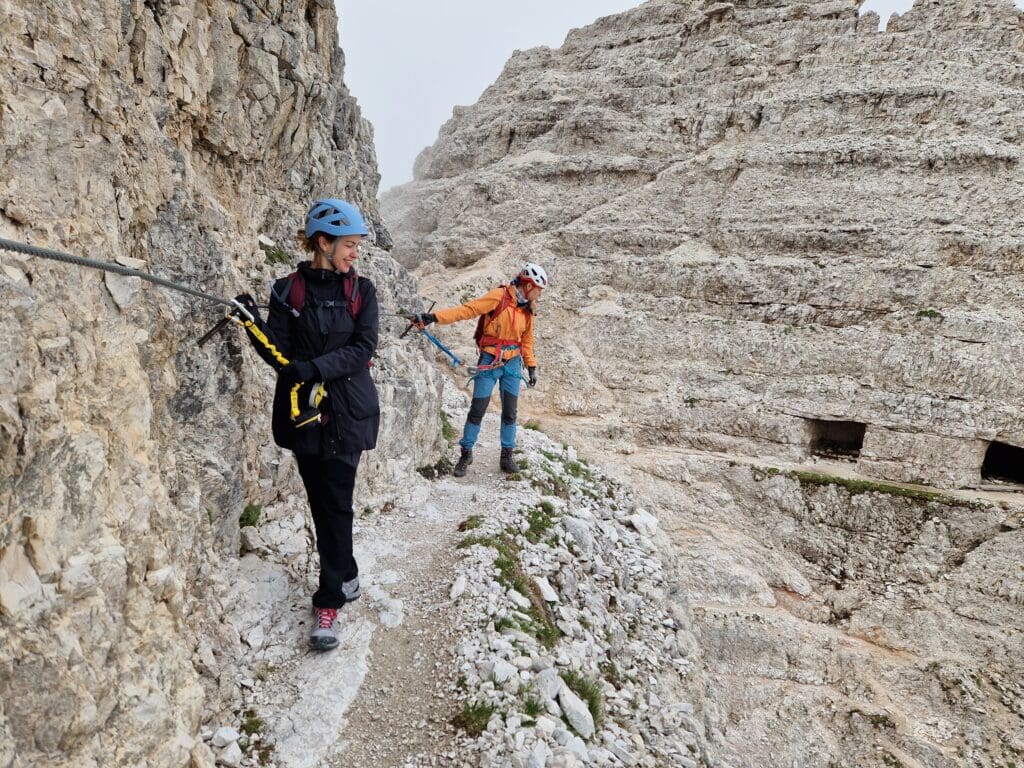
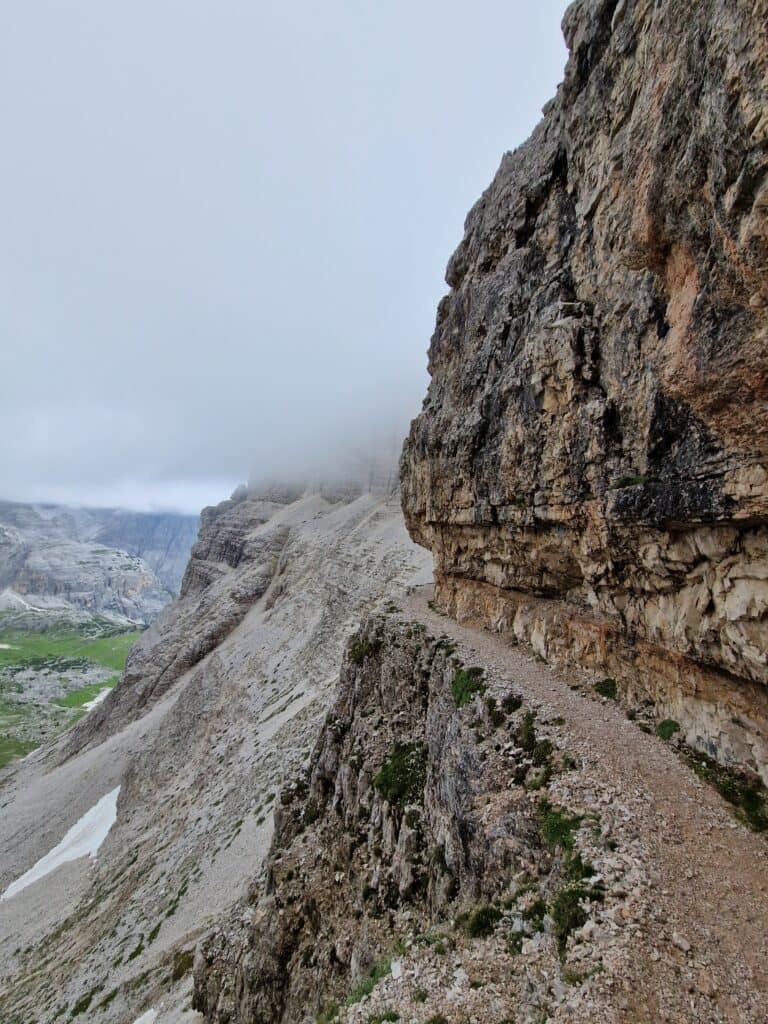
The return route led back through the Forcella del Camoscio pass. From there, we descended the northern slope of Monte Paterno. The trail wound along steep ledges, and while it wasn’t technically difficult, the ground was quite unstable in places, so caution was necessary. Eventually, we reached trail 105 and picked up the pace toward Rifugio Lavaredo, finally returning to Rifugio Auronzo.

Frequently Asked Questions (FAQ)
Have you hiked this route? Share your impressions in the comments!
On Life and Mountains