Torre di Toblin (Toblinger Knoten) consists of two isolated towers standing between the Tre Cime di Lavaredo and Monte Paterno massifs. The towers rise up somewhat apart from the other peaks, making them incredibly photogenic and eye-catching. Every time I gazed at them from a distance, I was certain there were no easy ways to reach the summit of Torre di Toblin. Imagine my surprise upon learning that a via ferrata leads right to the top! And the route isn’t even that difficult.
General Information about Via Ferrata delle Scallette
📍 Location:
Paterno mountain group, Sesto Dolomites
🧗♀️ Difficulty:
C – moderate difficulty, many ladders
⏰ Duration:
5–6 hours from Rifugio Auronzo and back
📏 Total Distance: 10 km
📈 Elevation Gain: 300 m
⛰️ Highest Point: Torre di Toblin (2,617 m)
🍁 Season: Mid-June to mid-October
🪢 Equipment & Preparation: More information on how to prepare for via ferrata routes can be found in the article Via Ferrata: What You Need to Know Before Starting.

World War I History
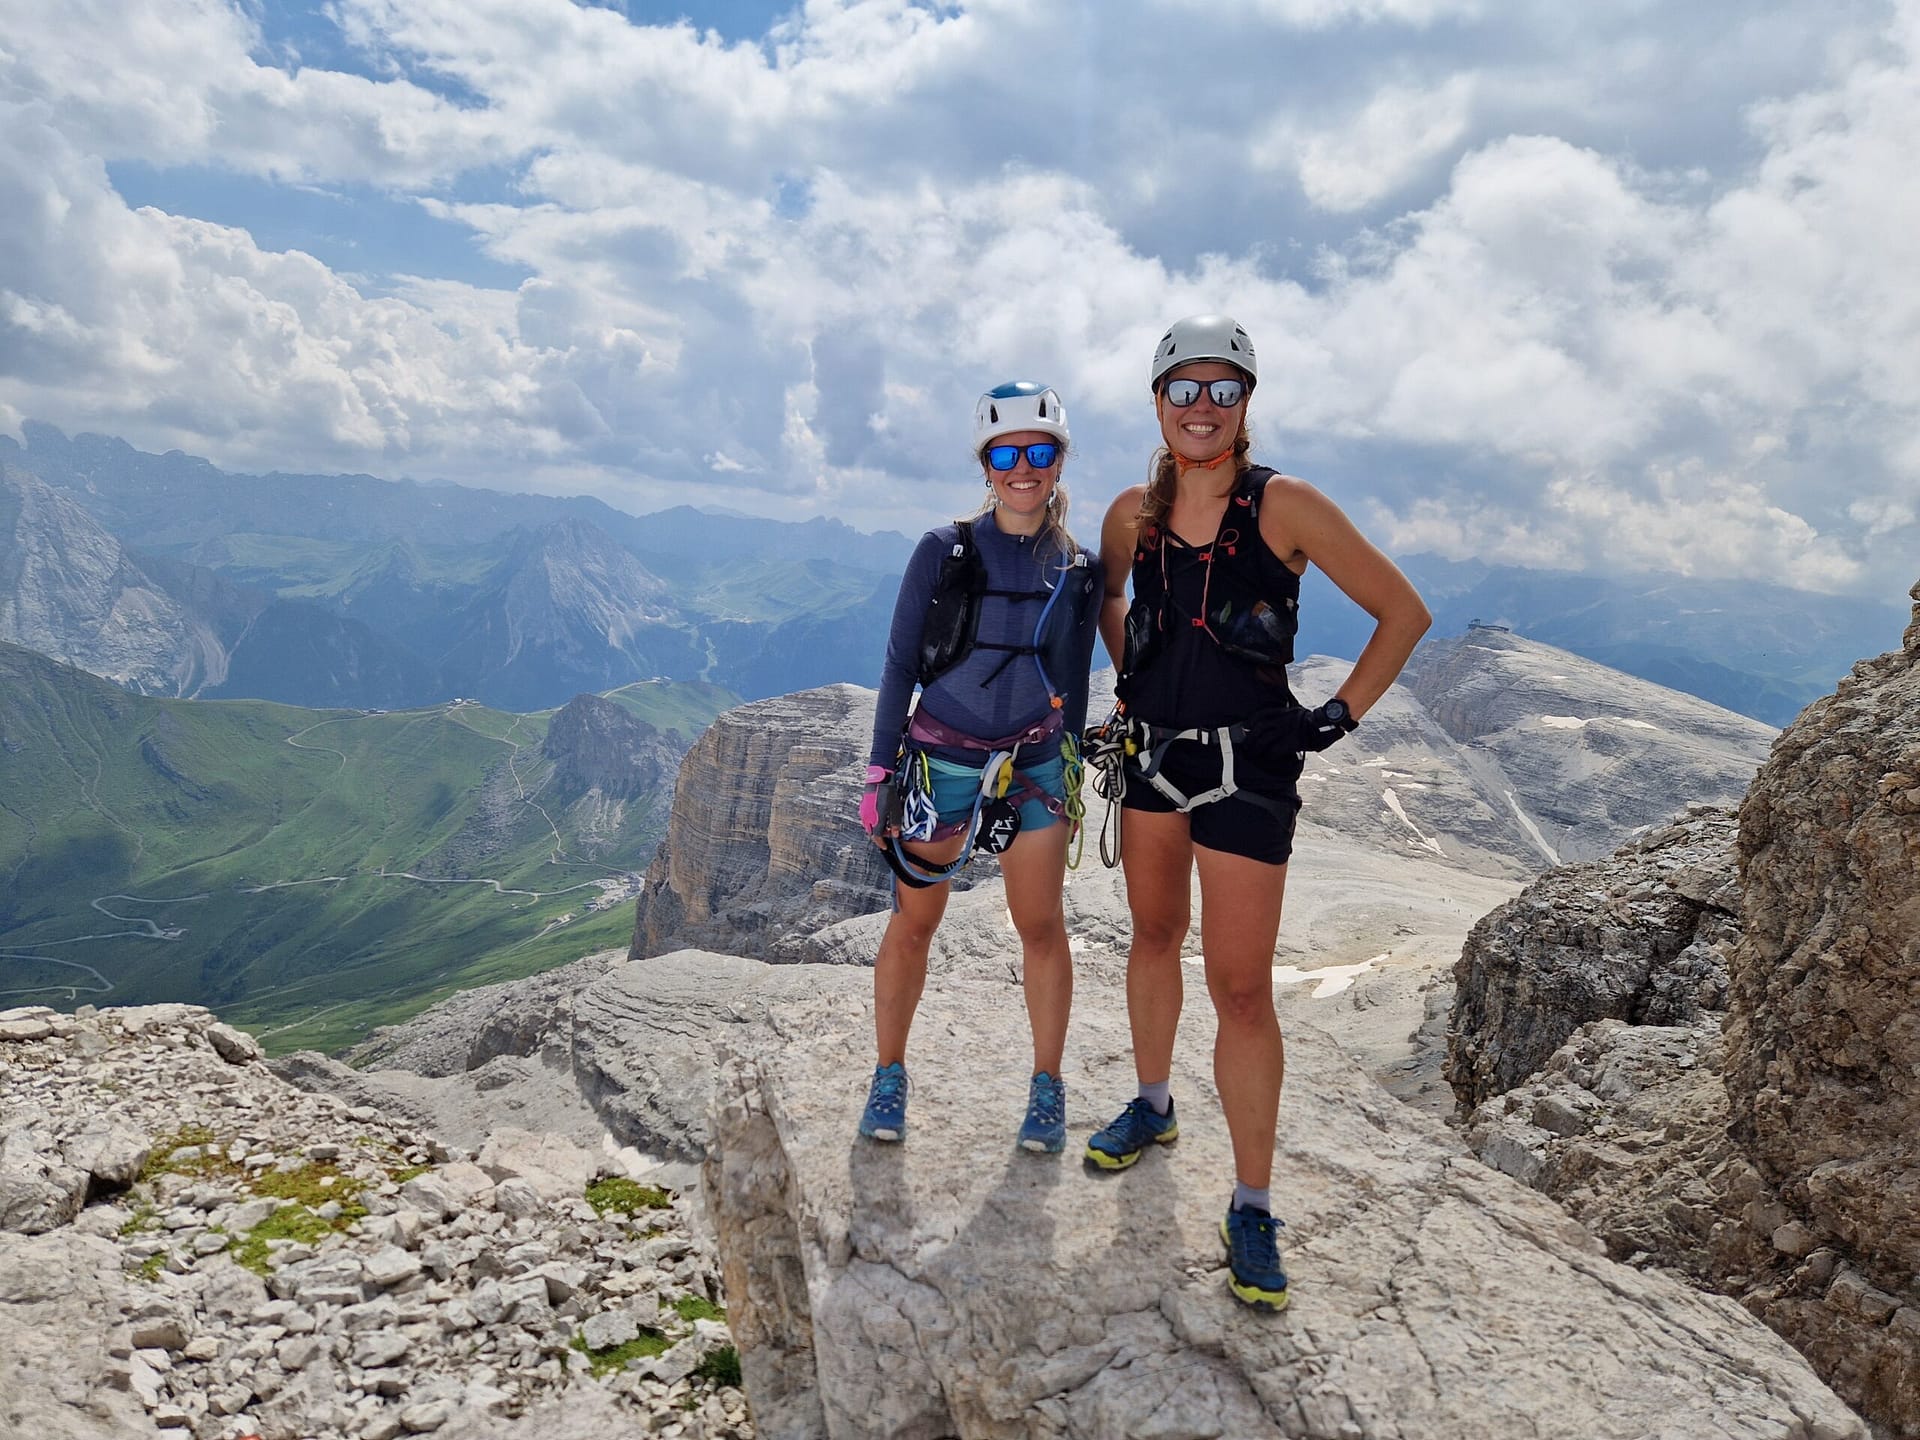
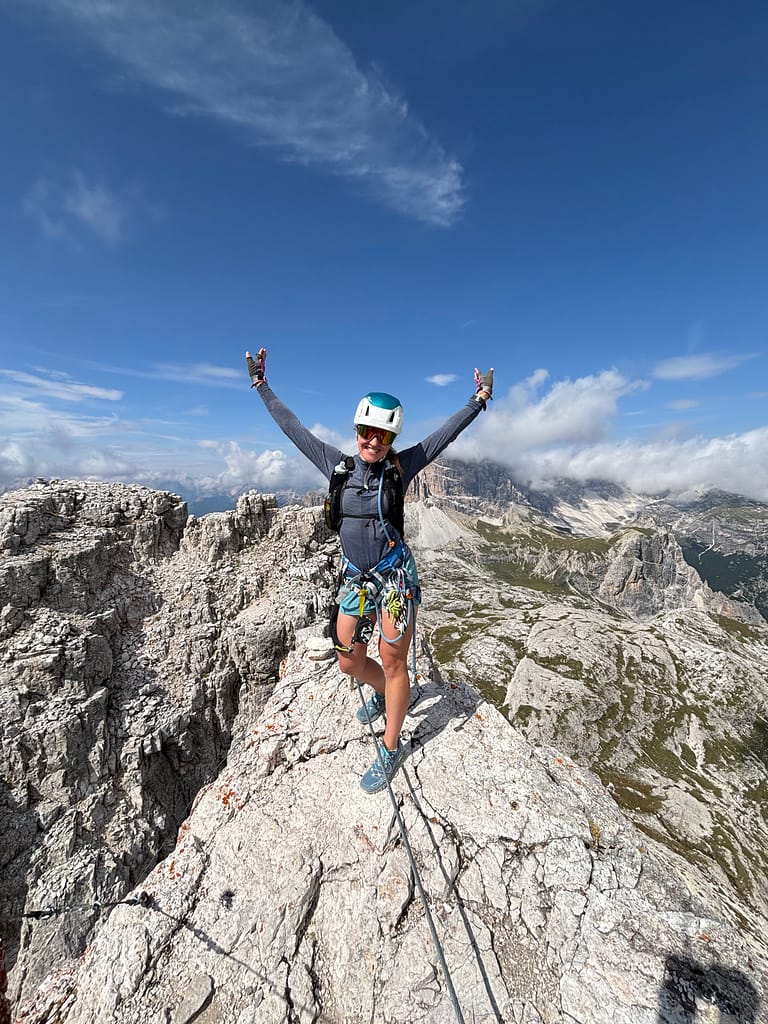
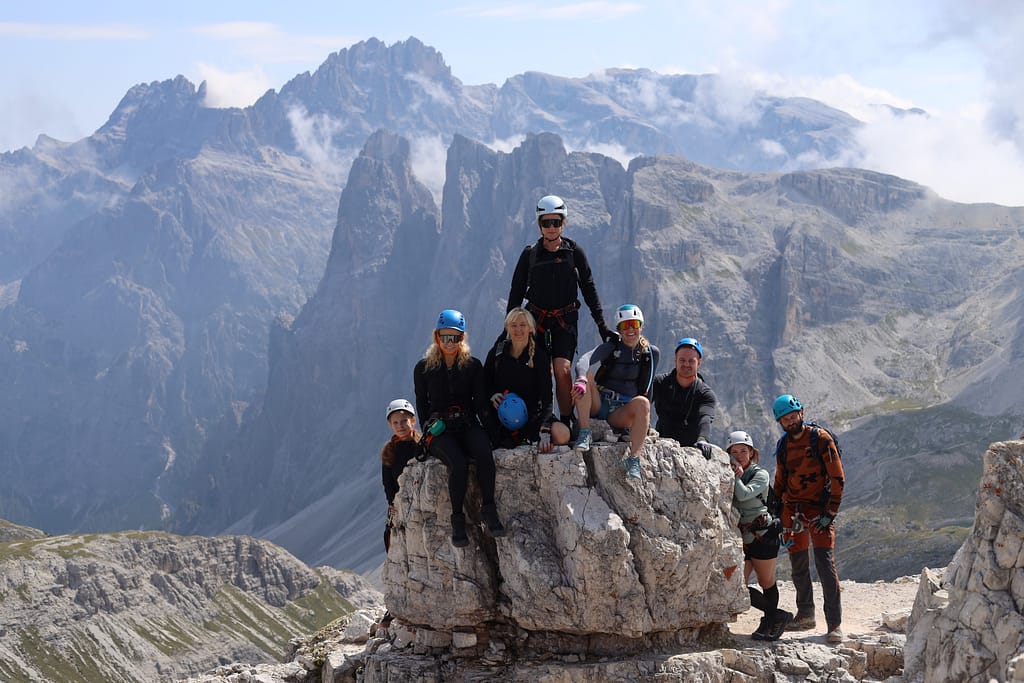
Like most via ferratas in the Italian Dolomites, the Via Ferrata delle Scallette held strategic importance during the First World War. It served as an observation and defense post for the Austrian army from which soldiers could easily monitor the entire Tre Cime area. The views from Torre di Toblin offer a full 360° panorama! At the very summit you can still see the remains of trenches and firing positions today.
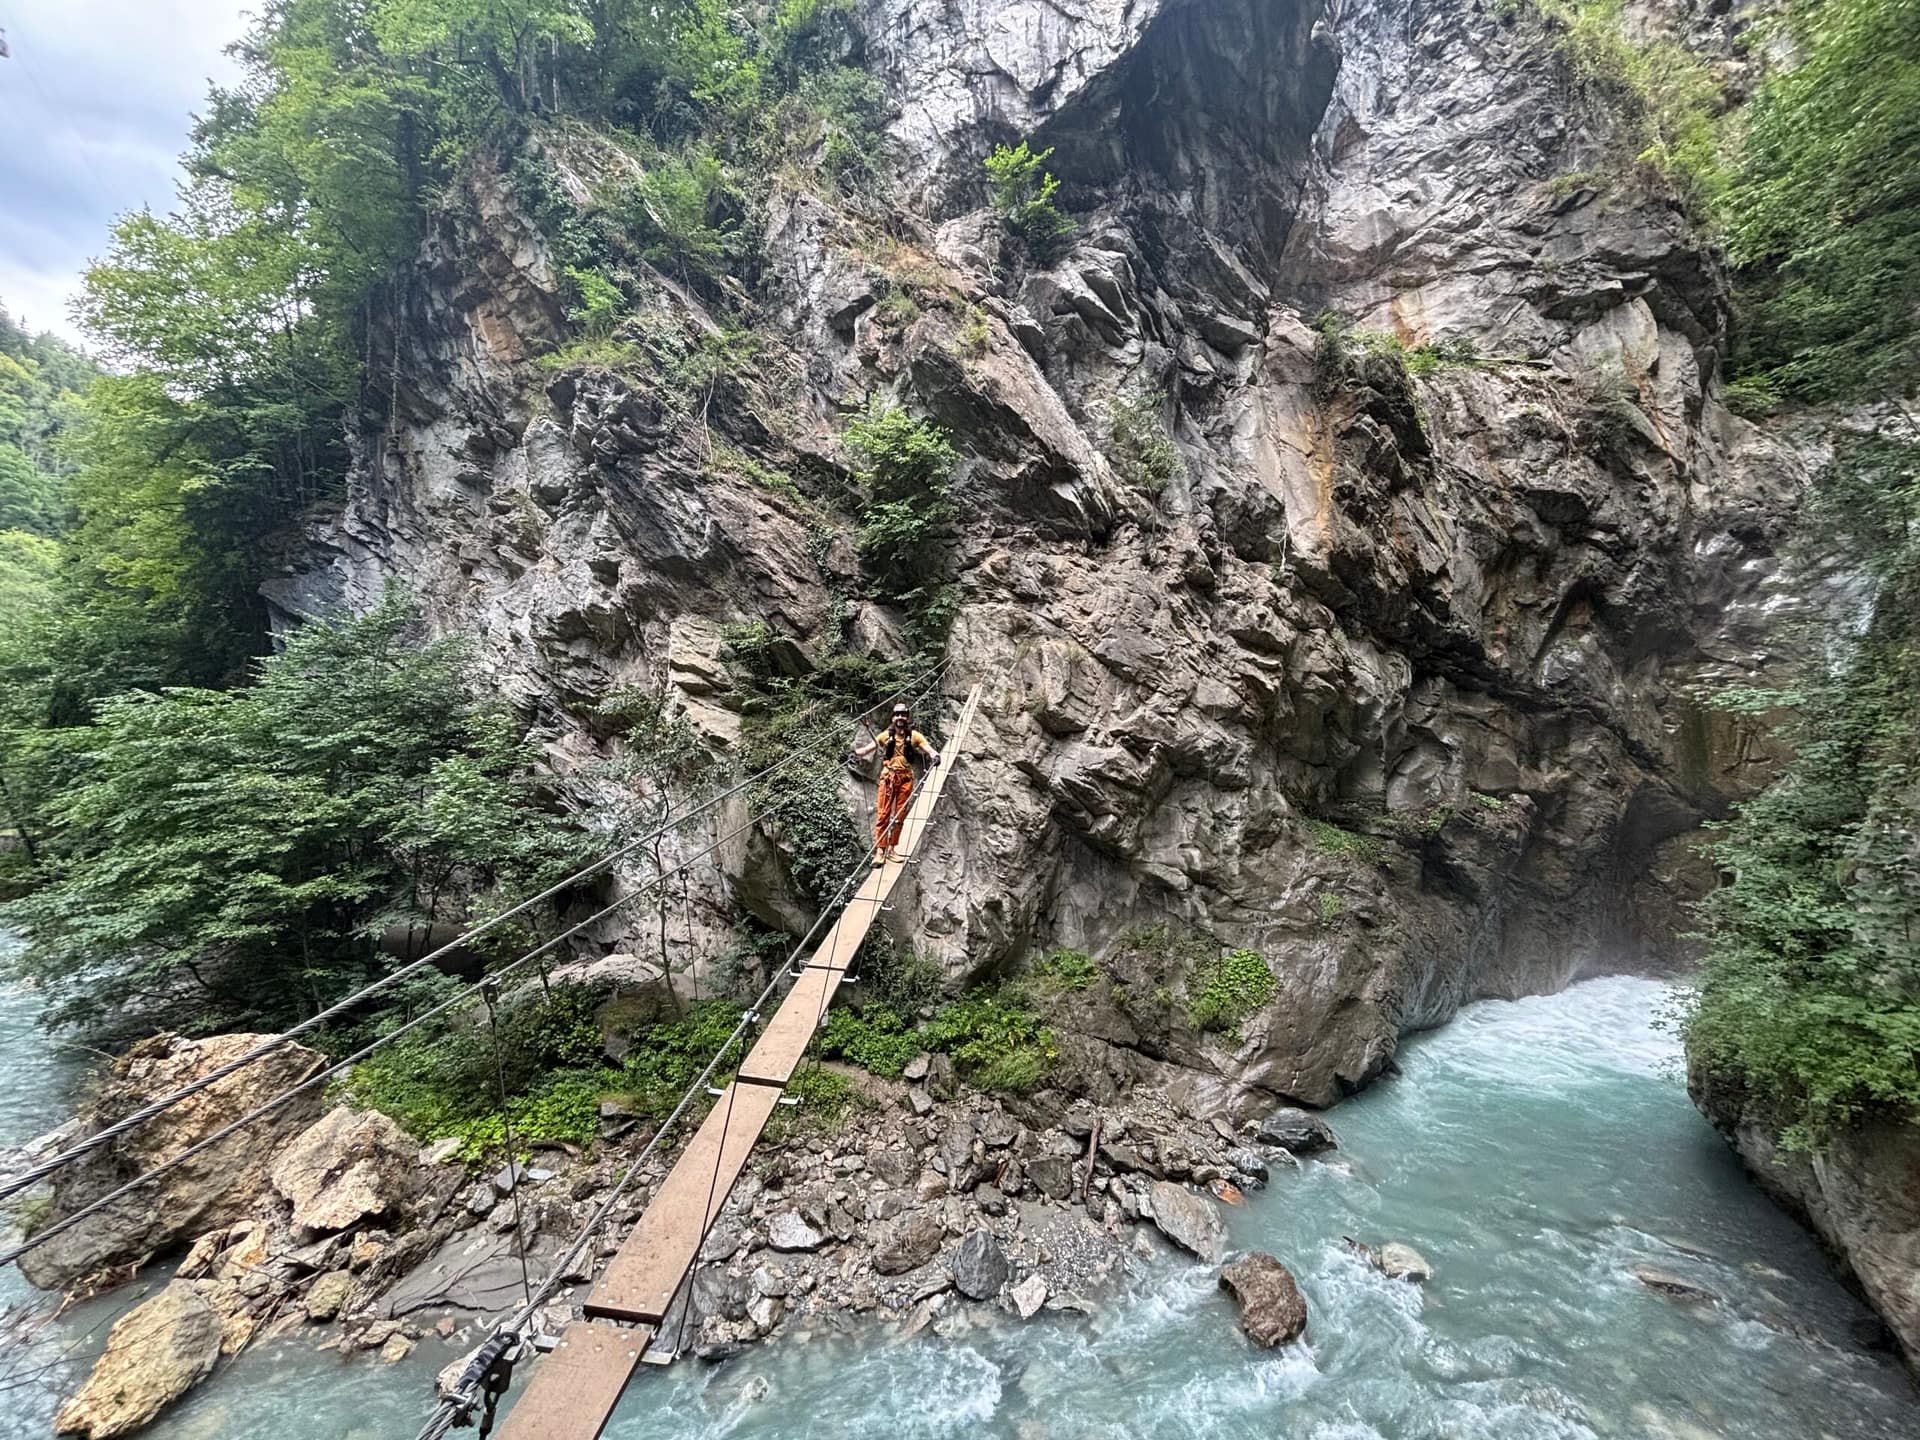
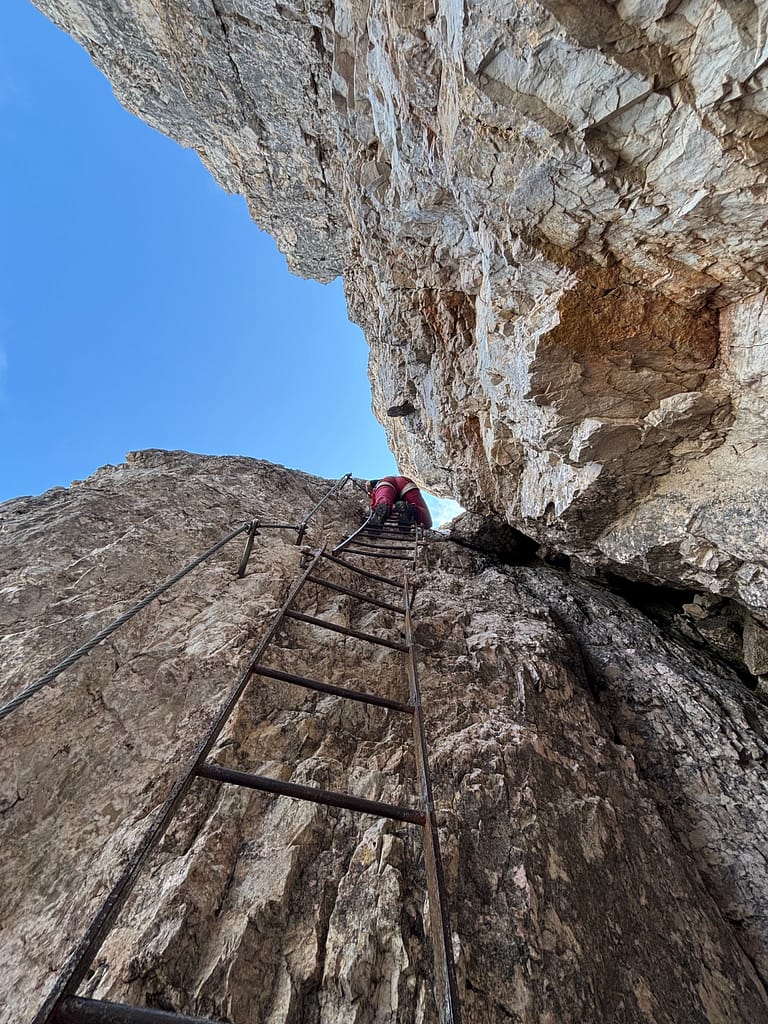
Additionally, the Via Ferrata delle Scallette is unique due to its abundance of ladders. There are about 17 of them – ranging from a few meters to several dozen meters in length. It is for this reason the via ferrata is named delle Scallette which translates from Italian as the ferrata of little ladders.
Torre di Toblin: Stages and Progression
Via Ferrata delle Scallette begins at the Rifugio Auronzo hut. The Via Ferrata De Luca-Innerkofler also starts here, so these two routes can be combined and completed together. It makes for an adventure filled, full day outing!
Route Map
Torre di Toblin: How To Get There
🅿️ Closest parking to the route: Rifugio Auronzo parking lot.
To manage traffic flow, access to this hut is paid and only possible after paying for a parking space. This can be done online via the Pass Auronzo website. Registration is required. The price for a car is approximately 30 euros per day, though it can fluctuate depending on the season. When purchasing a ticket, you will need to indicate your arrival time. I recommend buying tickets in advance, as spots fill up quickly.
Without a ticket, it is impossible to drive up to Rifugio Auronzo. Entry is regulated by a barrier opened by staff after checking your ticket.
🚌 Arrival by Bus
To avoid the entry/parking fee or if the car lot is full, you can leave your car in the town of Dobbiaco and take bus 444 up to Rifugio Auronzo. Bus tickets can be purchased on the Drei Zinnen website. I recommend buying these in advance as well.
Stage #1: Rifugio Auronzo – Rifugio Lavaredo
The first stage follows the main path from Rifugio Auronzo to Rifugio Lavaredo. If there is one thing this route does not lack, it is huts. That is what I love about traveling in Italy—you can easily find a cup of espresso macchiato and a croissant along the trails. The path is single, wide, and clear. And very busy. The Tre Cime di Lavaredo towers are one of the most popular spots in the Italian Dolomites.

Stage #2: Rifugio Lavaredo – Rifugio Locatelli
From Rifugio Lavaredo, the main path branches into several different routes. To reach Via Ferrata delle Scallette, follow the signs toward Rifugio Locatelli – the route passes by this extremely popular hut. Rifugio Locatelli can also be reached from the other side, from Rifugio Tre Scarperi, so the crowds here are significant. For those who love winter activities, I highly recommend visiting here during the Christmas period!
At Rifugio Locatelli, a magnificent panorama of the Tre Cime di Lavaredo opens up. It’s essential to stop for a photo, but don’t forget to admire it with your own eyes, too 🙂

Stage #3: Rifugio Locatelli – Torre di Toblin
The route toward Torre di Toblin begins behind Rifugio Locatelli. After walking along the path toward the towers, there is a signpost indicating where to turn. The rest of the path is well-marked and leads around Torre di Toblin from the left side. After circling the towers, the start of the via ferrata delle Scallette becomes visible, with its name written on the rock. This is where you can put on your harness, helmet, and via ferrata sets. The adventure begins!
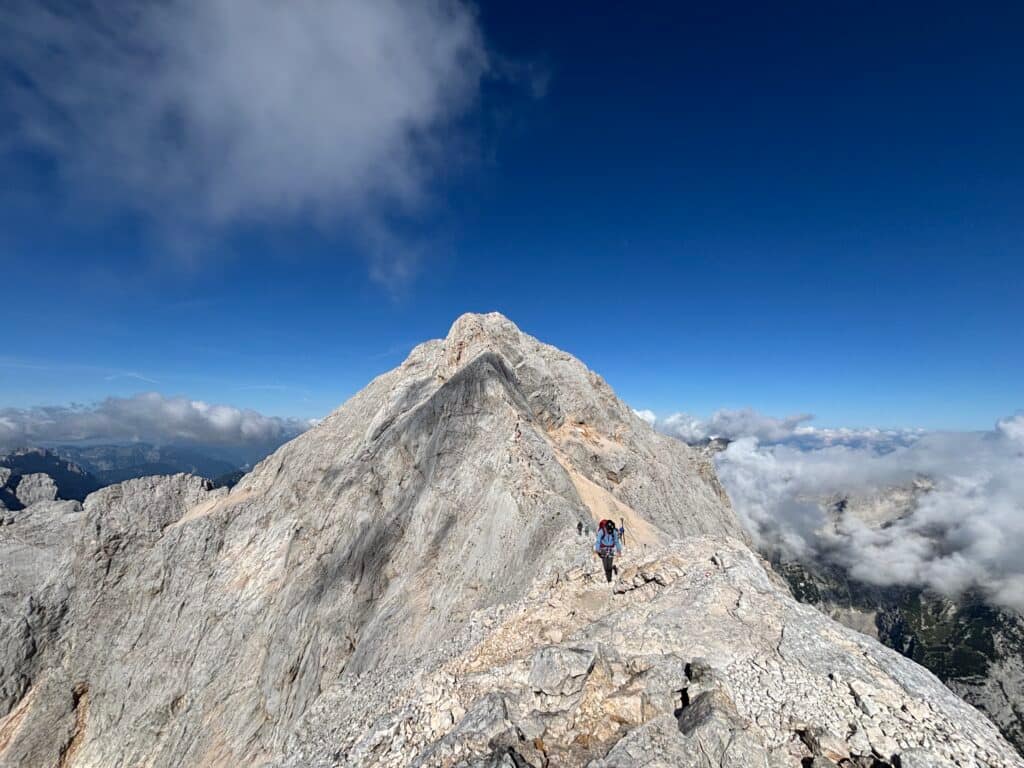
After clipping into the first cables and traversing slightly to the left, the route begins to climb steeply upward. The climbing involves both rock and ladders tilted at various angles. There is plenty of dynamics, the climbing is very interesting, and the views just keep getting better. Upon reaching the summit a 360° view unfolds! Torre di Toblin is undoubtedly the most impressive viewpoint for the Tre Cime di Lavaredo! The climb itself takes between 45 minutes and 1 hour.

Stage #4: The Return from Torre di Toblin
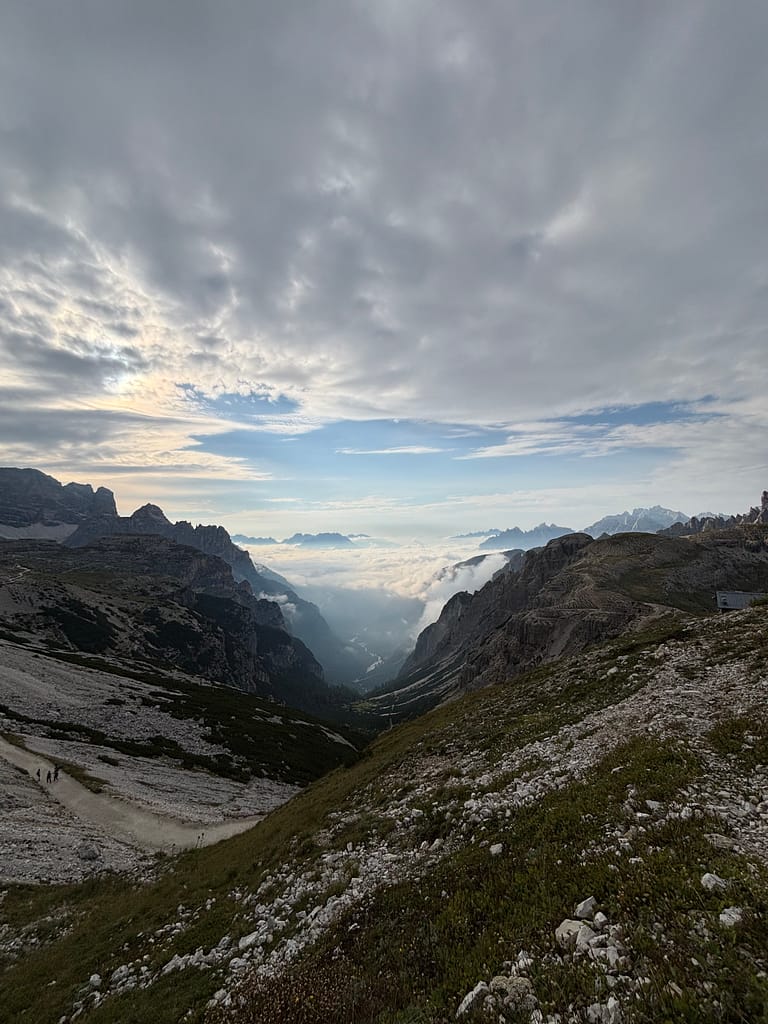
The descent from the Torre di Toblin towers follows a different via ferrata – the Feldkurat Hosp Steig. This route is much easier, so the descent is fast and smooth. As you go down, you can see lakes, and you’ll constantly want to stop to photograph the surroundings. It is an incredibly scenic route.
After descending the Via Ferrata Feldkurat Hosp Steig the path leads back to Rifugio Locatelli. From there, you can return via the same path or continue the adventure by taking the Via Ferrata De Luca-Innerkofler route, which ends at Rifugio Lavaredo.


Frequently Asked Questions (FAQ)
Have you climbed the Via Ferrata delle Scallette to the Torre di Toblin towers? Share your impressions in the comments!
On Life and Mountains
For more via ferrata itineraries check the Via Ferratas page.