Via Ferrata Cesare Piazzetta is the most challenging route to the summit of Piz Boè, which also happens to be the most accessible 3,000 m peak in the Italian Dolomites. Whether you choose the easy path or the hard one, the views are spectacular either way. But for those with mountain experience who have already tackled a few via ferratas, I highly recommend testing your limits on the way to Piz Boè via the Cesare Piazzetta.
General Information
📍Location: Sella Dolomites, Italy
| 🧗♀️ Grade | ⏰ Duration | 📏 Distance | 📈 Elevation | 🔗 Wire |
|---|---|---|---|---|
| D | 5-6 h | 10 km | 952 m | 500 m |
- ⛰️ Highest Point: Piz Boè 3152 m
- 🅿️ Where to park? Sacrario Germanico del Passo Pardoi
- 🪢 Gear & Preparation: For more information on via ferrata difficulty levels, required gear and preparation, read our article: Via Ferrata: What You Need to Know Before Starting.
Route Map
- You can download the topo map for Via Ferrata Cesare Piazzetta from Bergsteigen page.
- AllTrails map:
Via Ferrata Cesare Piazzetta Stages
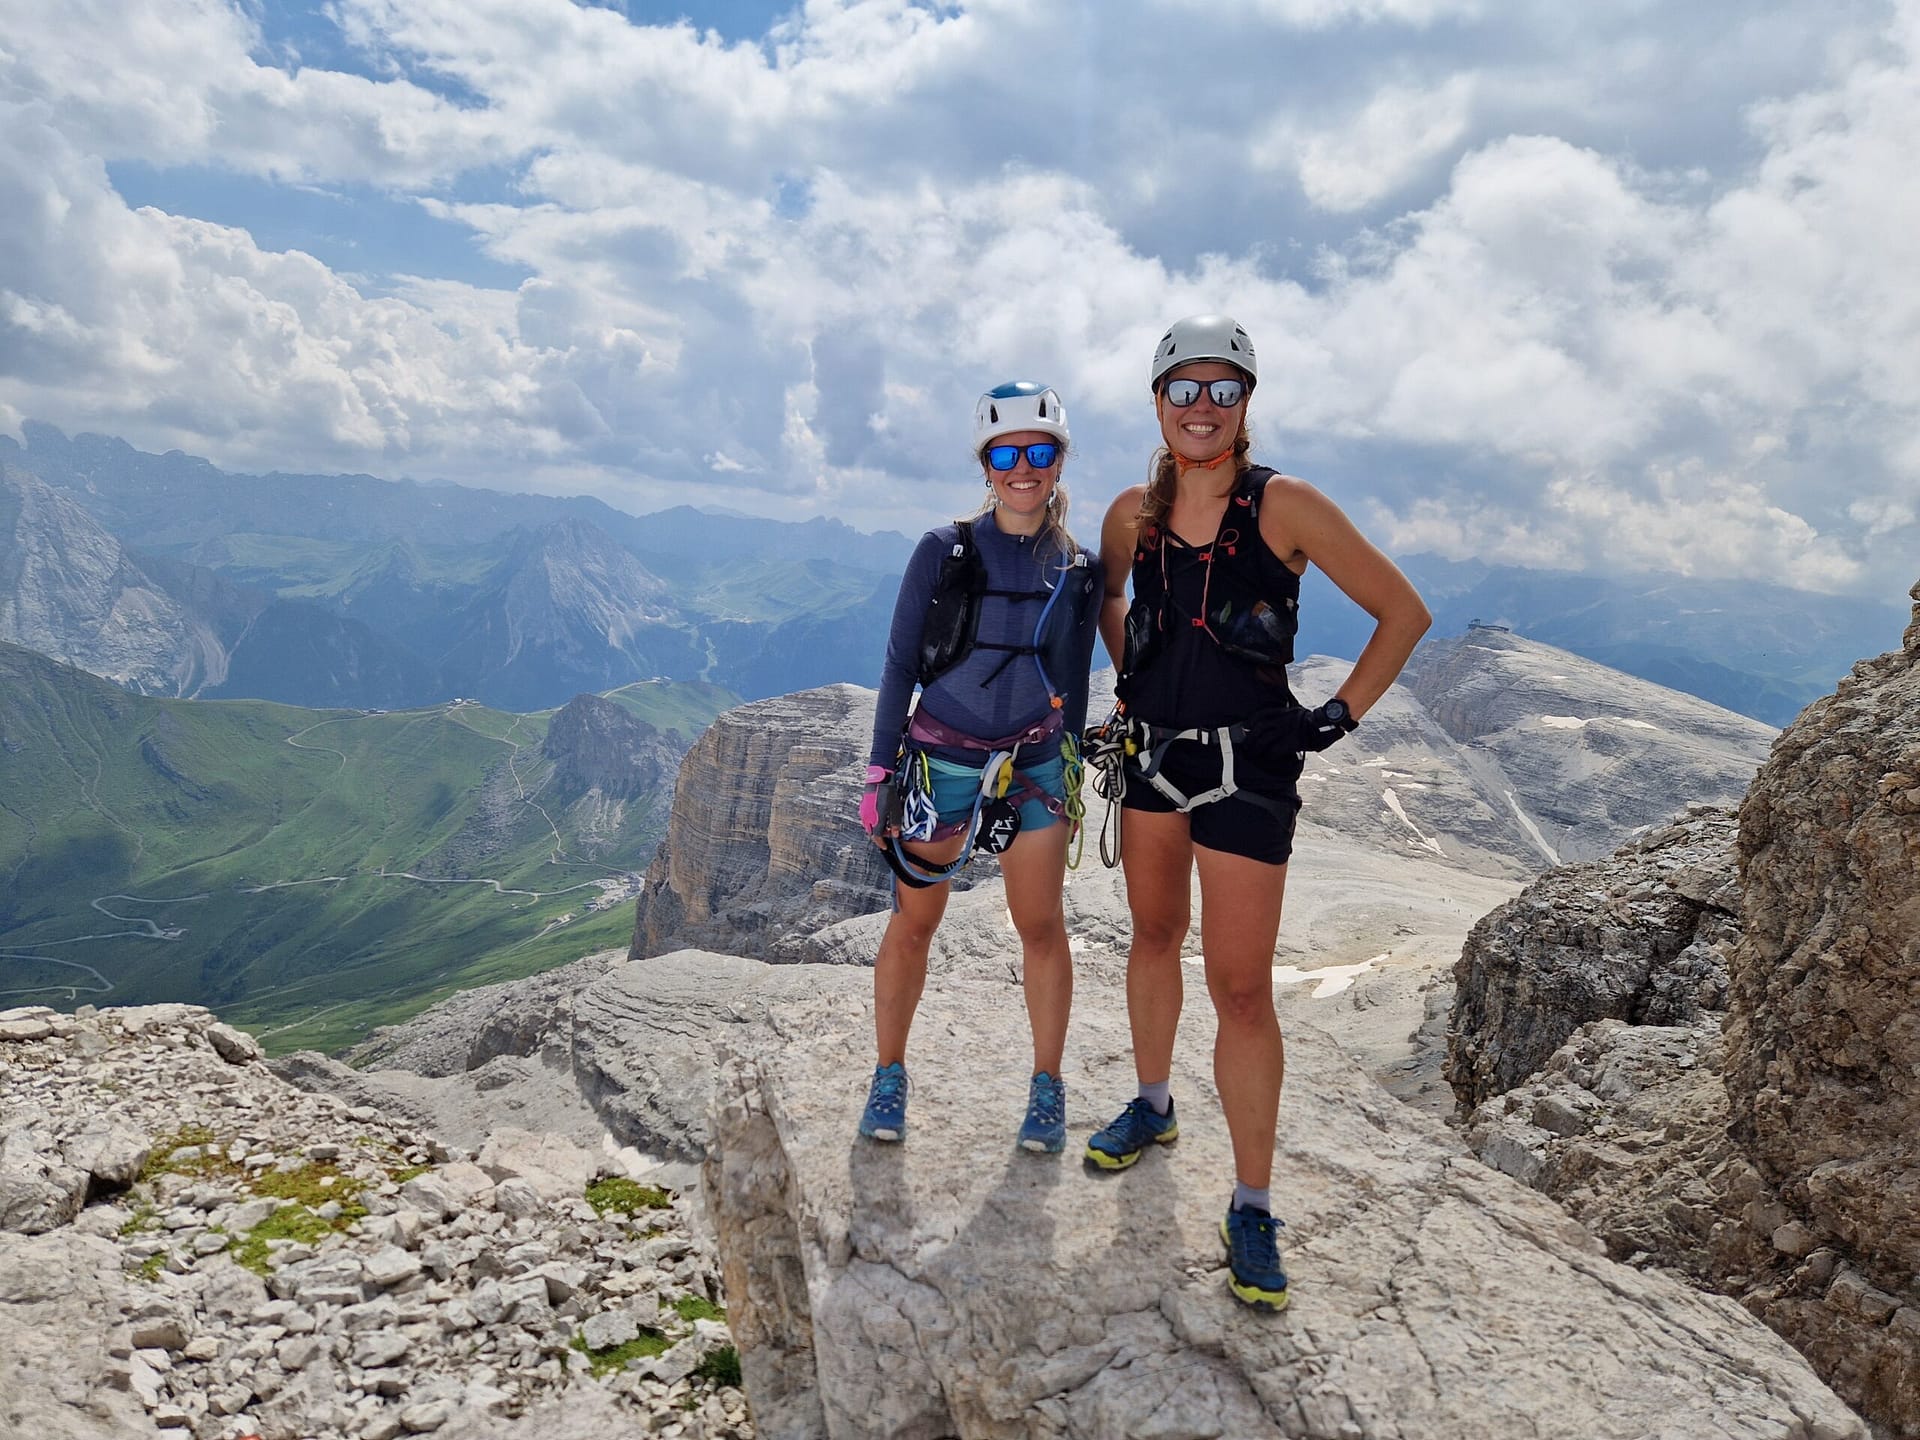
My friend and I set out to the ferrata together. Since we already had all our gear, our preparation mainly consisted of reading reviews about the ferrata. Everyone seemed to agree on one thing: it’s hard. Perfect – exactly what we were looking for. However, some reviews were a bit concerning, claiming the start is exceptionally difficult and that many people fail to get past it. But the word was: if you climb the start, it’s all downhill (metaphorically) from there! Several comments also mentioned a mysterious chimney that is very difficult and carries the risk of getting stuck if you’re wearing a backpack. My curiosity was officially hitting the roof. We definitely had to try this via ferrata!
Approach
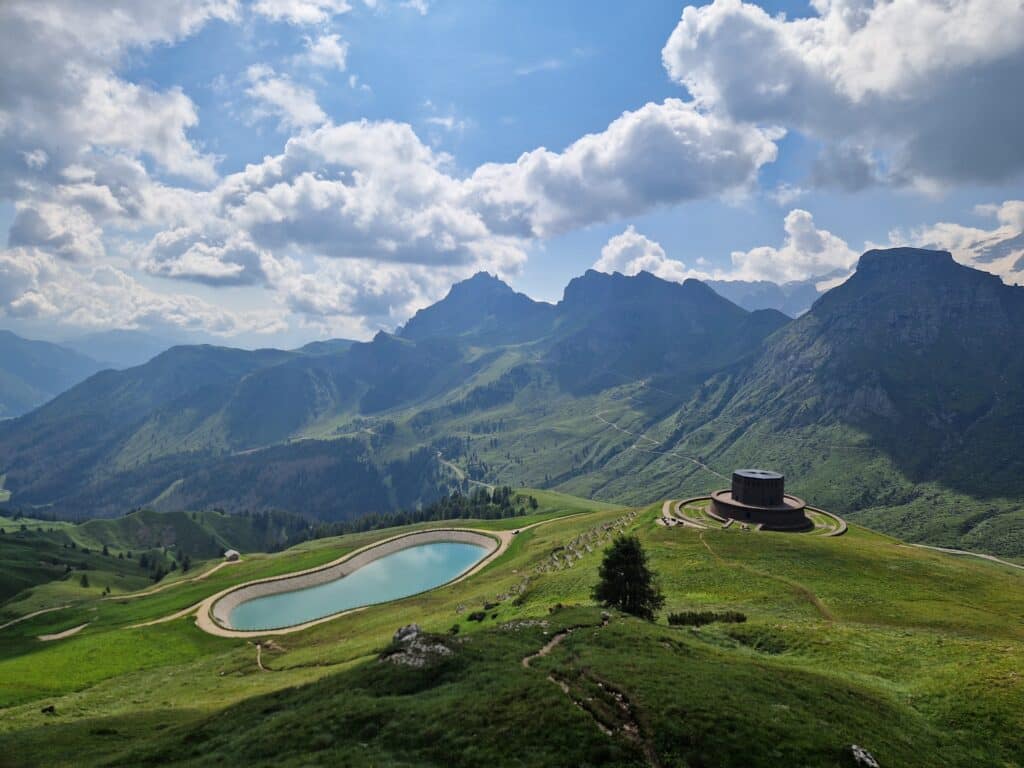
The closest point to reach Via Ferrata Cesare Piazzetta is Passo Pordoi. We decided to park closer to the start of the trail, heading toward the parcheggio (Italian for parking lot) near the Sacrario Germanico del Passo Pordoi memorial. While you technically shouldn’t park there for long visits, we left our car just a bit further along the road. Parking was free.
From the parking area to the start of the via ferrata, it’s about a 1.5-hour hike.
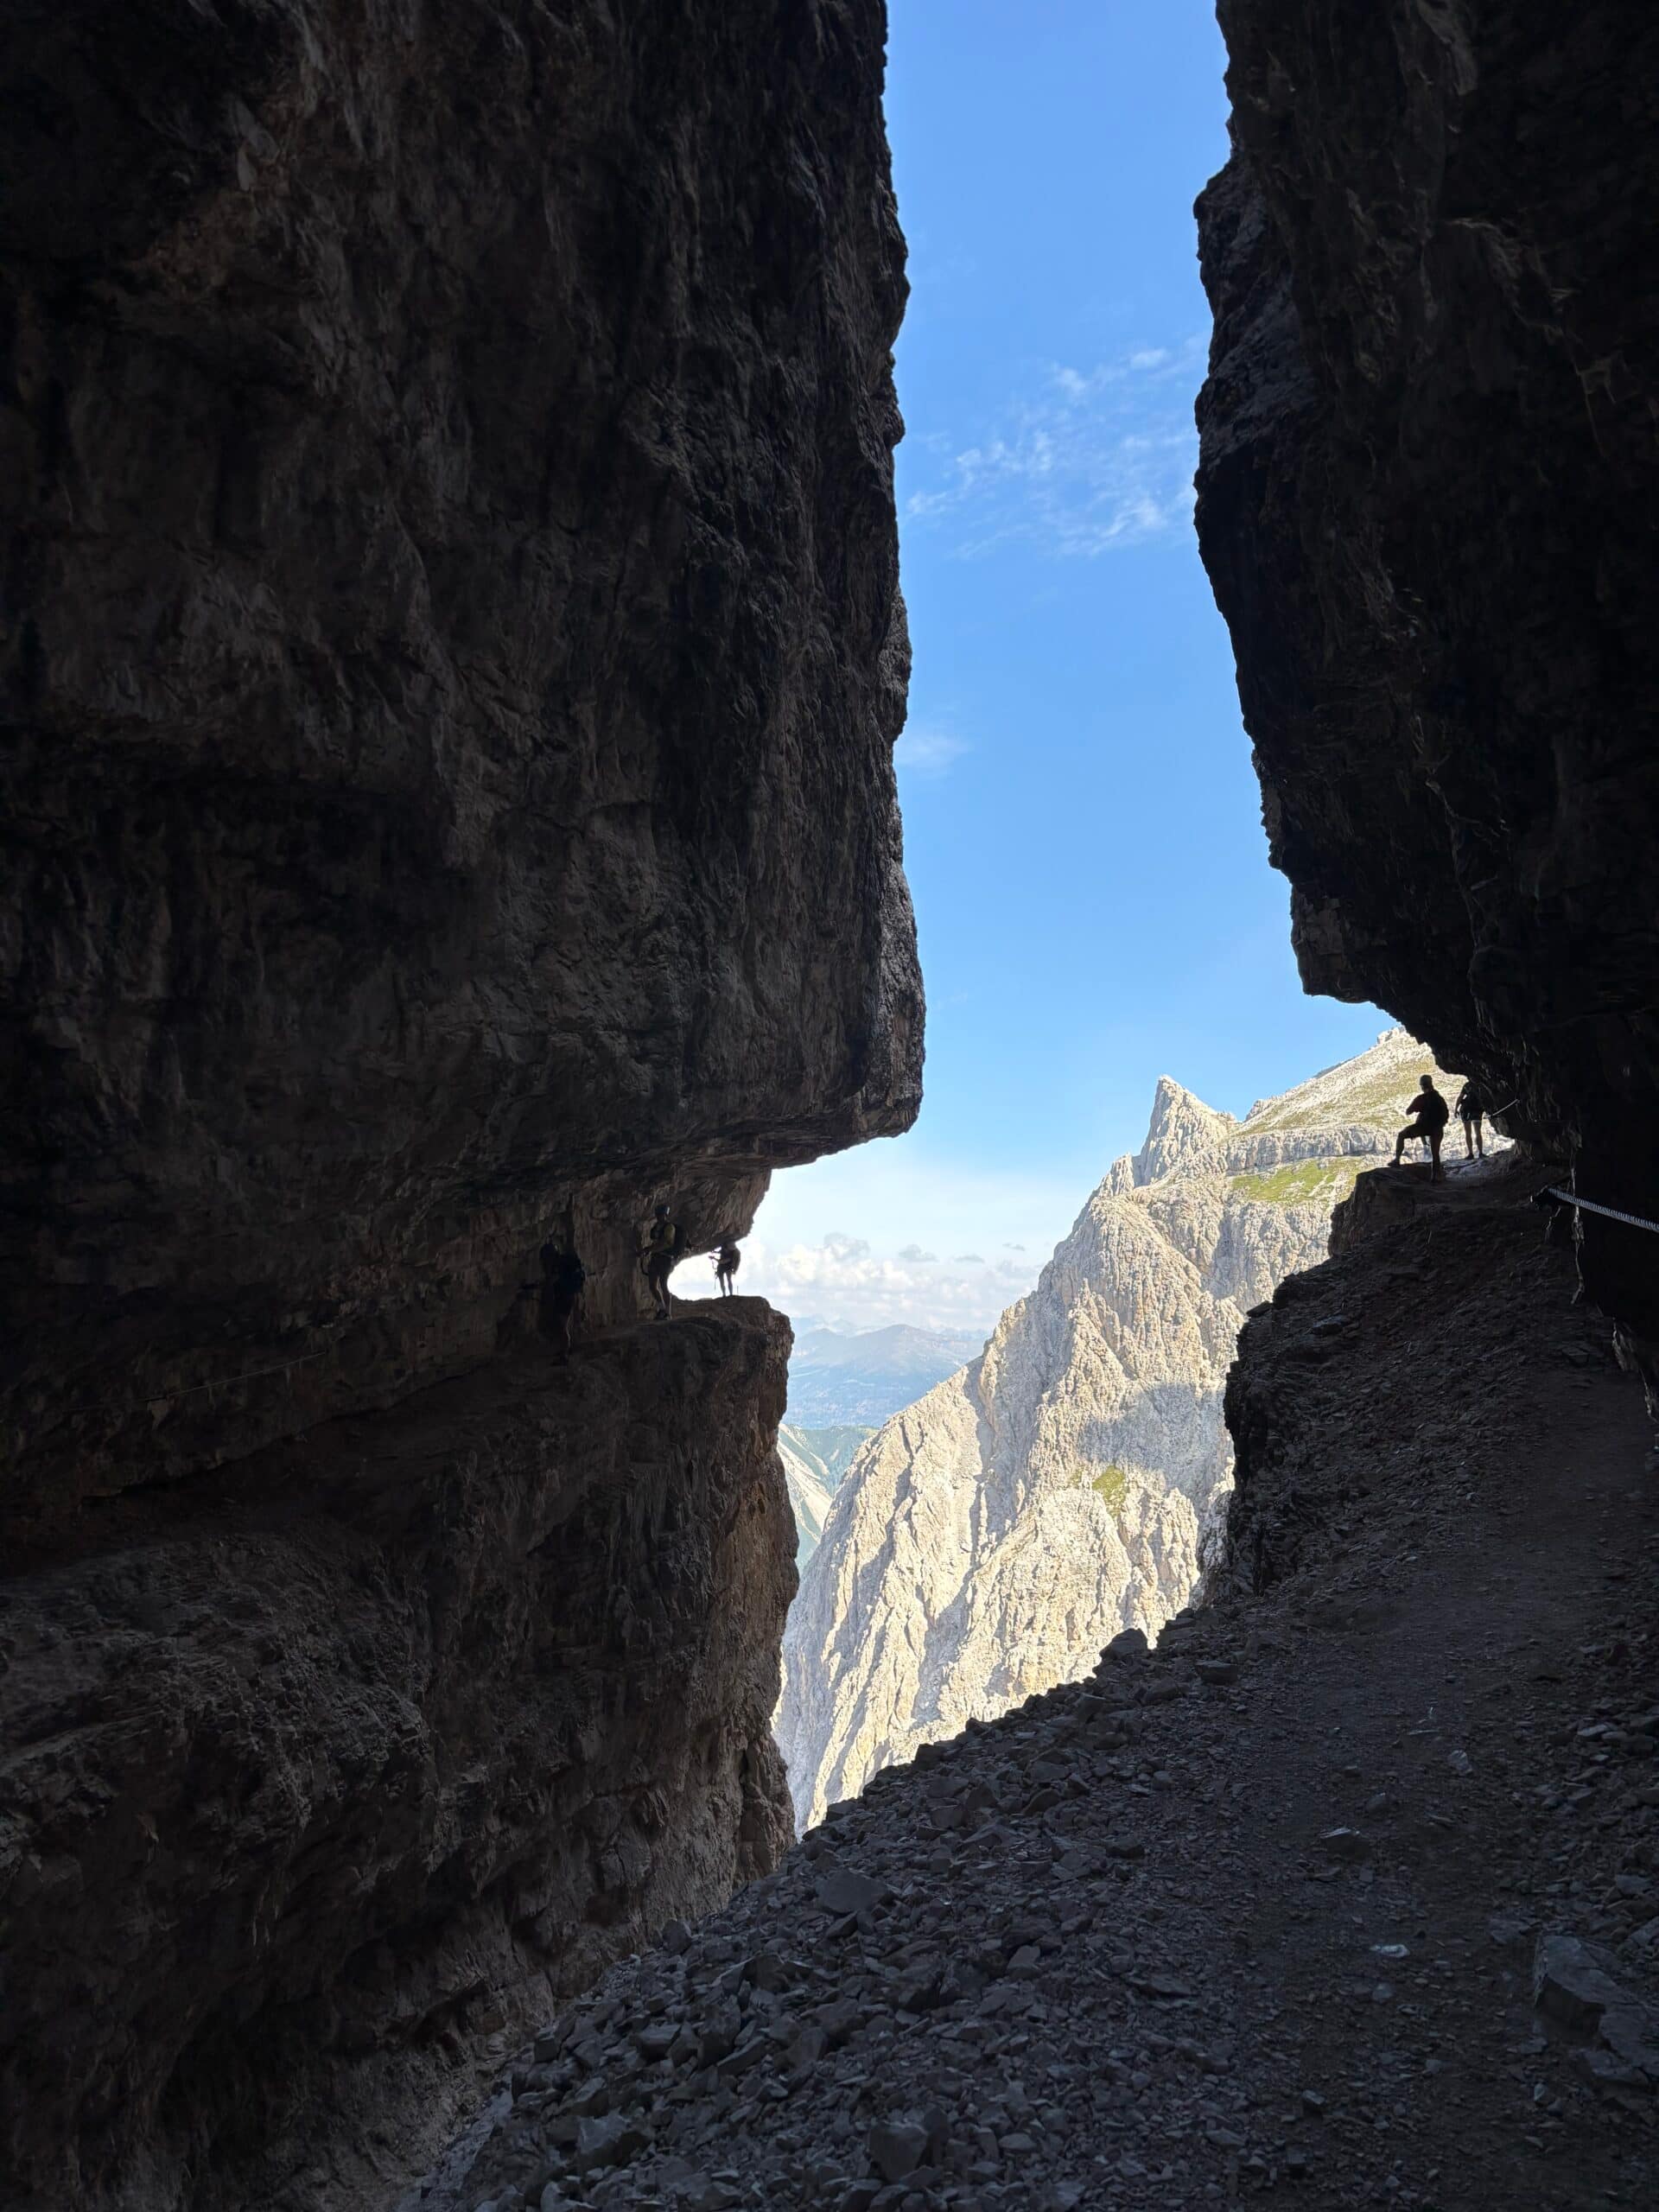
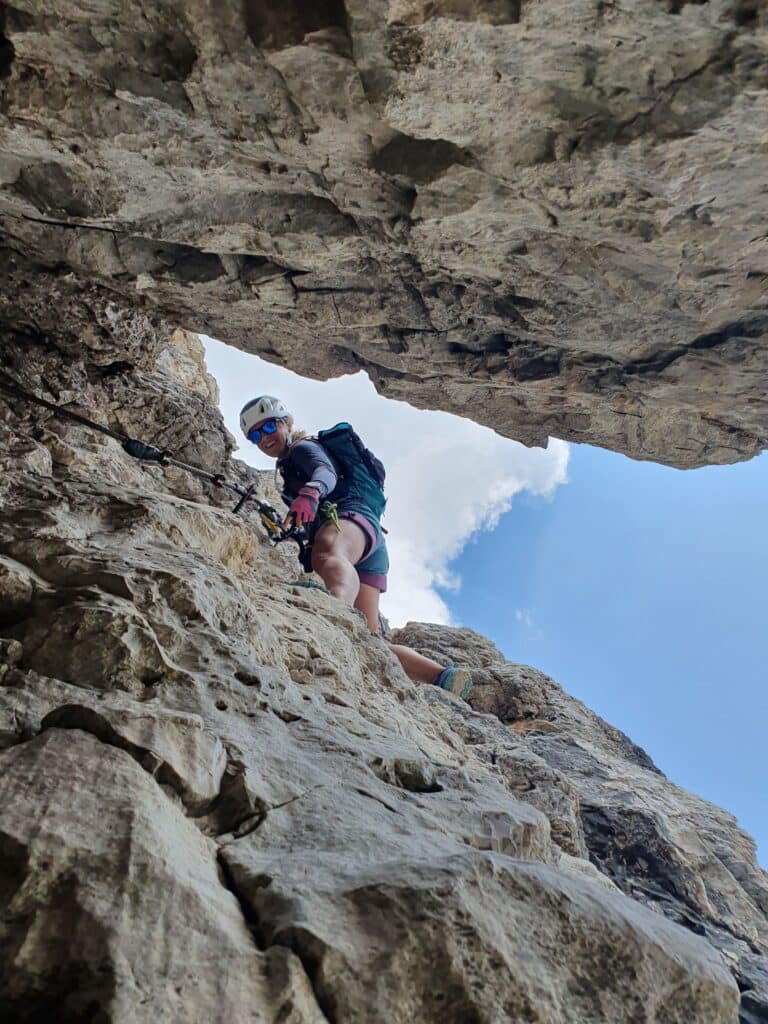
Stage #1: The Start of Cesare Piazzetta
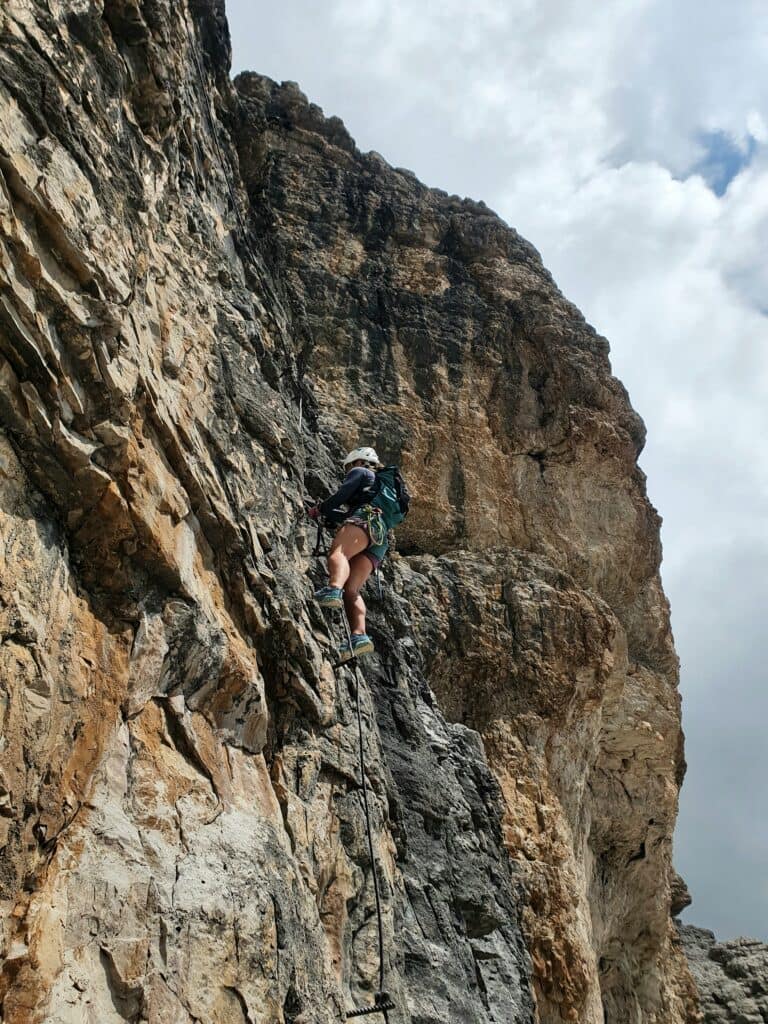
The beginning of the via ferrata looked truly impressive – a vertical, 90-degree wall! Before starting we sat down for a snack and watched as the climbers ahead of us changed into climbing shoes. Wait, you need climbing shoes here? We were in trail runners (sneakers, essentially) and started wondering how we’d manage that vertical wall. Our climbing shoes were back in the car and we certainly weren’t going back for them!
Once the group ahead of us gained some height we began our ascent. The reviews didn’t lie – it definitely wasn’t easy. Especially at the start – there were many sections where you had to pull yourself up with your arms. There weren’t many comfortable places for your feet either so we had to wedge ourselves against the wall and trust that we wouldn’t slip. After passing the first section, at the beginning of a lateral traverse my arms started to feel pumped! In a few spots, our lanyards came in handy – we just clipped in and hung a bit to rest.
Still, I’ve noticed time and again that watching others climb makes the route look much harder than it actually is. Once you start climbing yourself – the focus comes back and even the impossible routes become manageable.
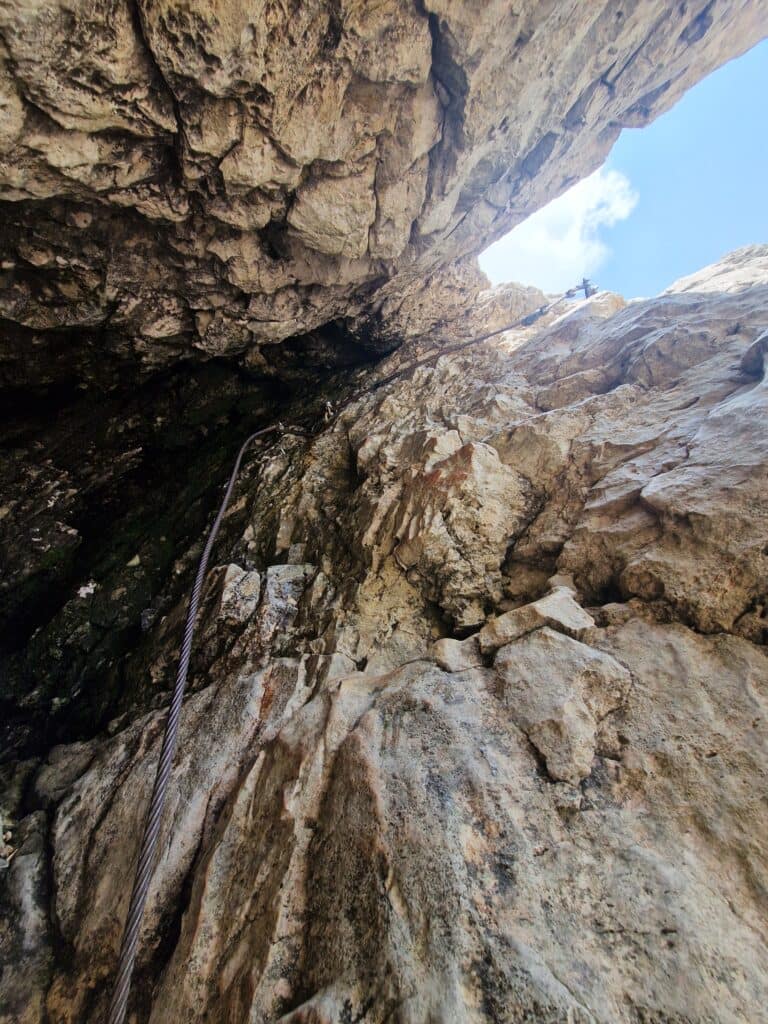
Stage #2: The Chimney of Cesare Piazzetta
After making it through the toughest section we reached the mysterious chimney. The cables were attached deep inside the crack, so we had to crawl inside and scramble upward. We checked our backpacks to make sure they weren’t too bulky to get us stuck, but we managed to slide through smoothly. It was a lot of fun!
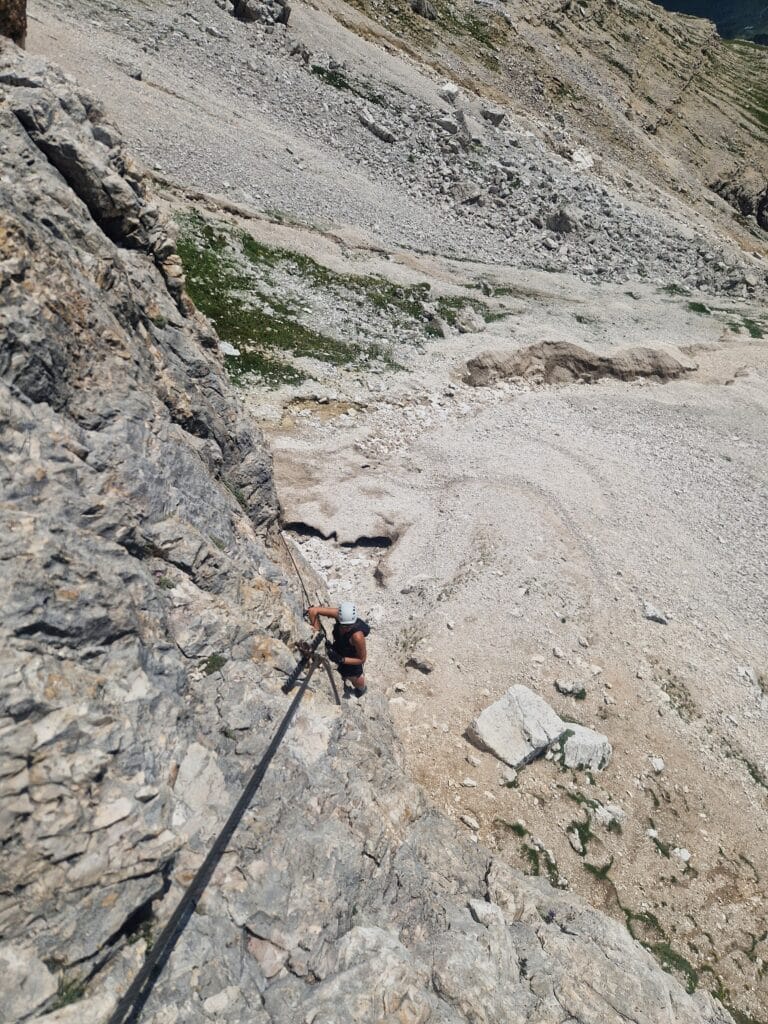
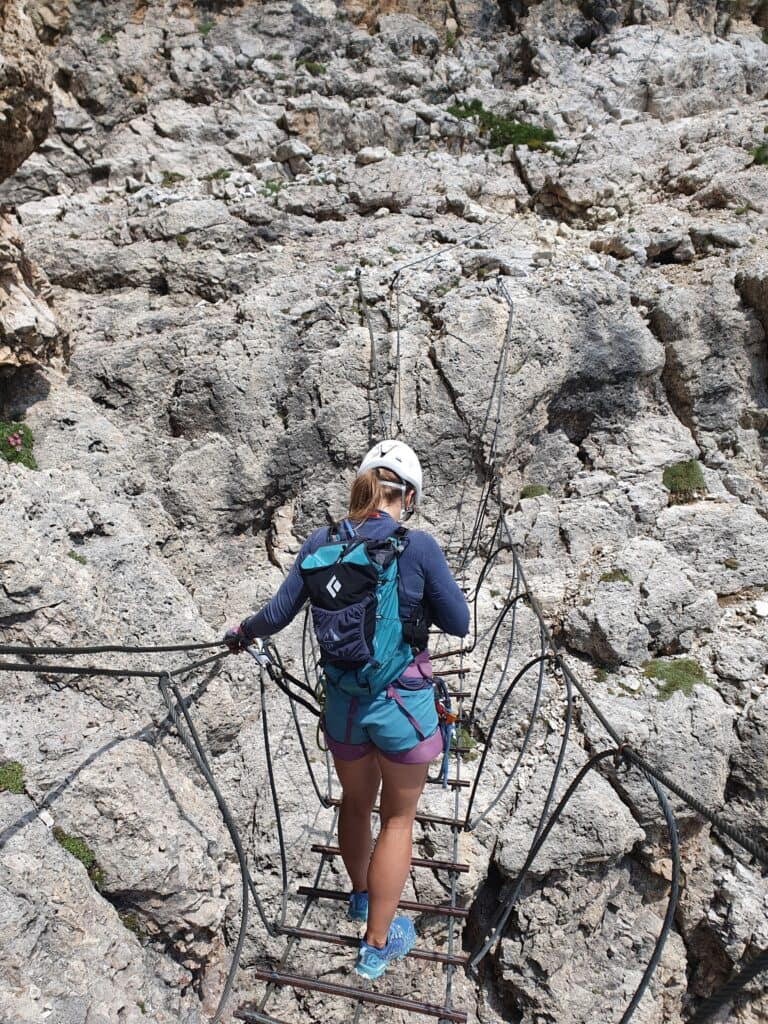
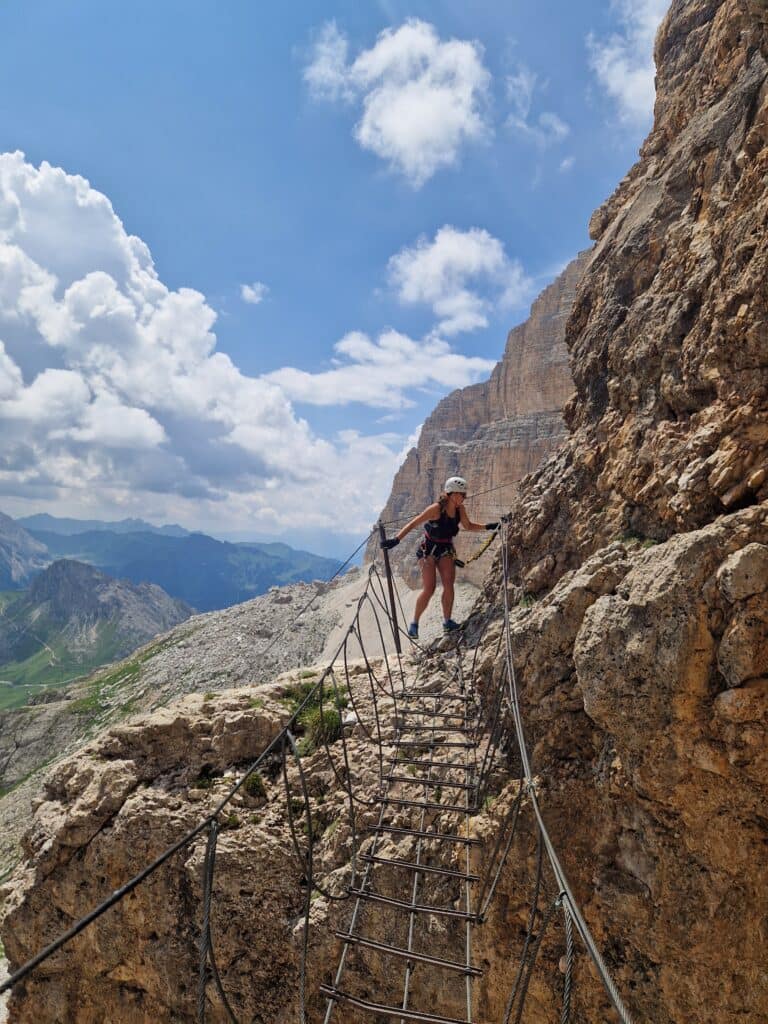
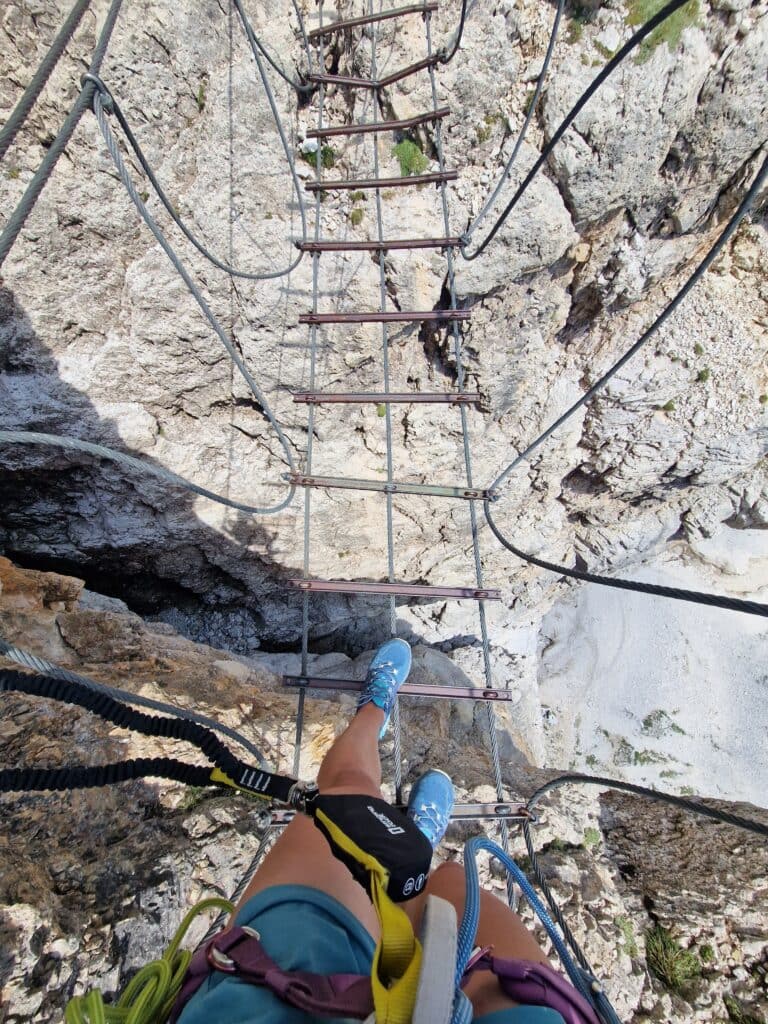
Stage #3: The Bridge of Cesare Piazzetta
Another very interesting part of Via Ferrata Cesare Piazzetta is the suspension bridge. It’s quite minimalistic, with large gaps between the footings and a sheer abyss beneath your feet. However, it’s short, so we hopped across it in no time!
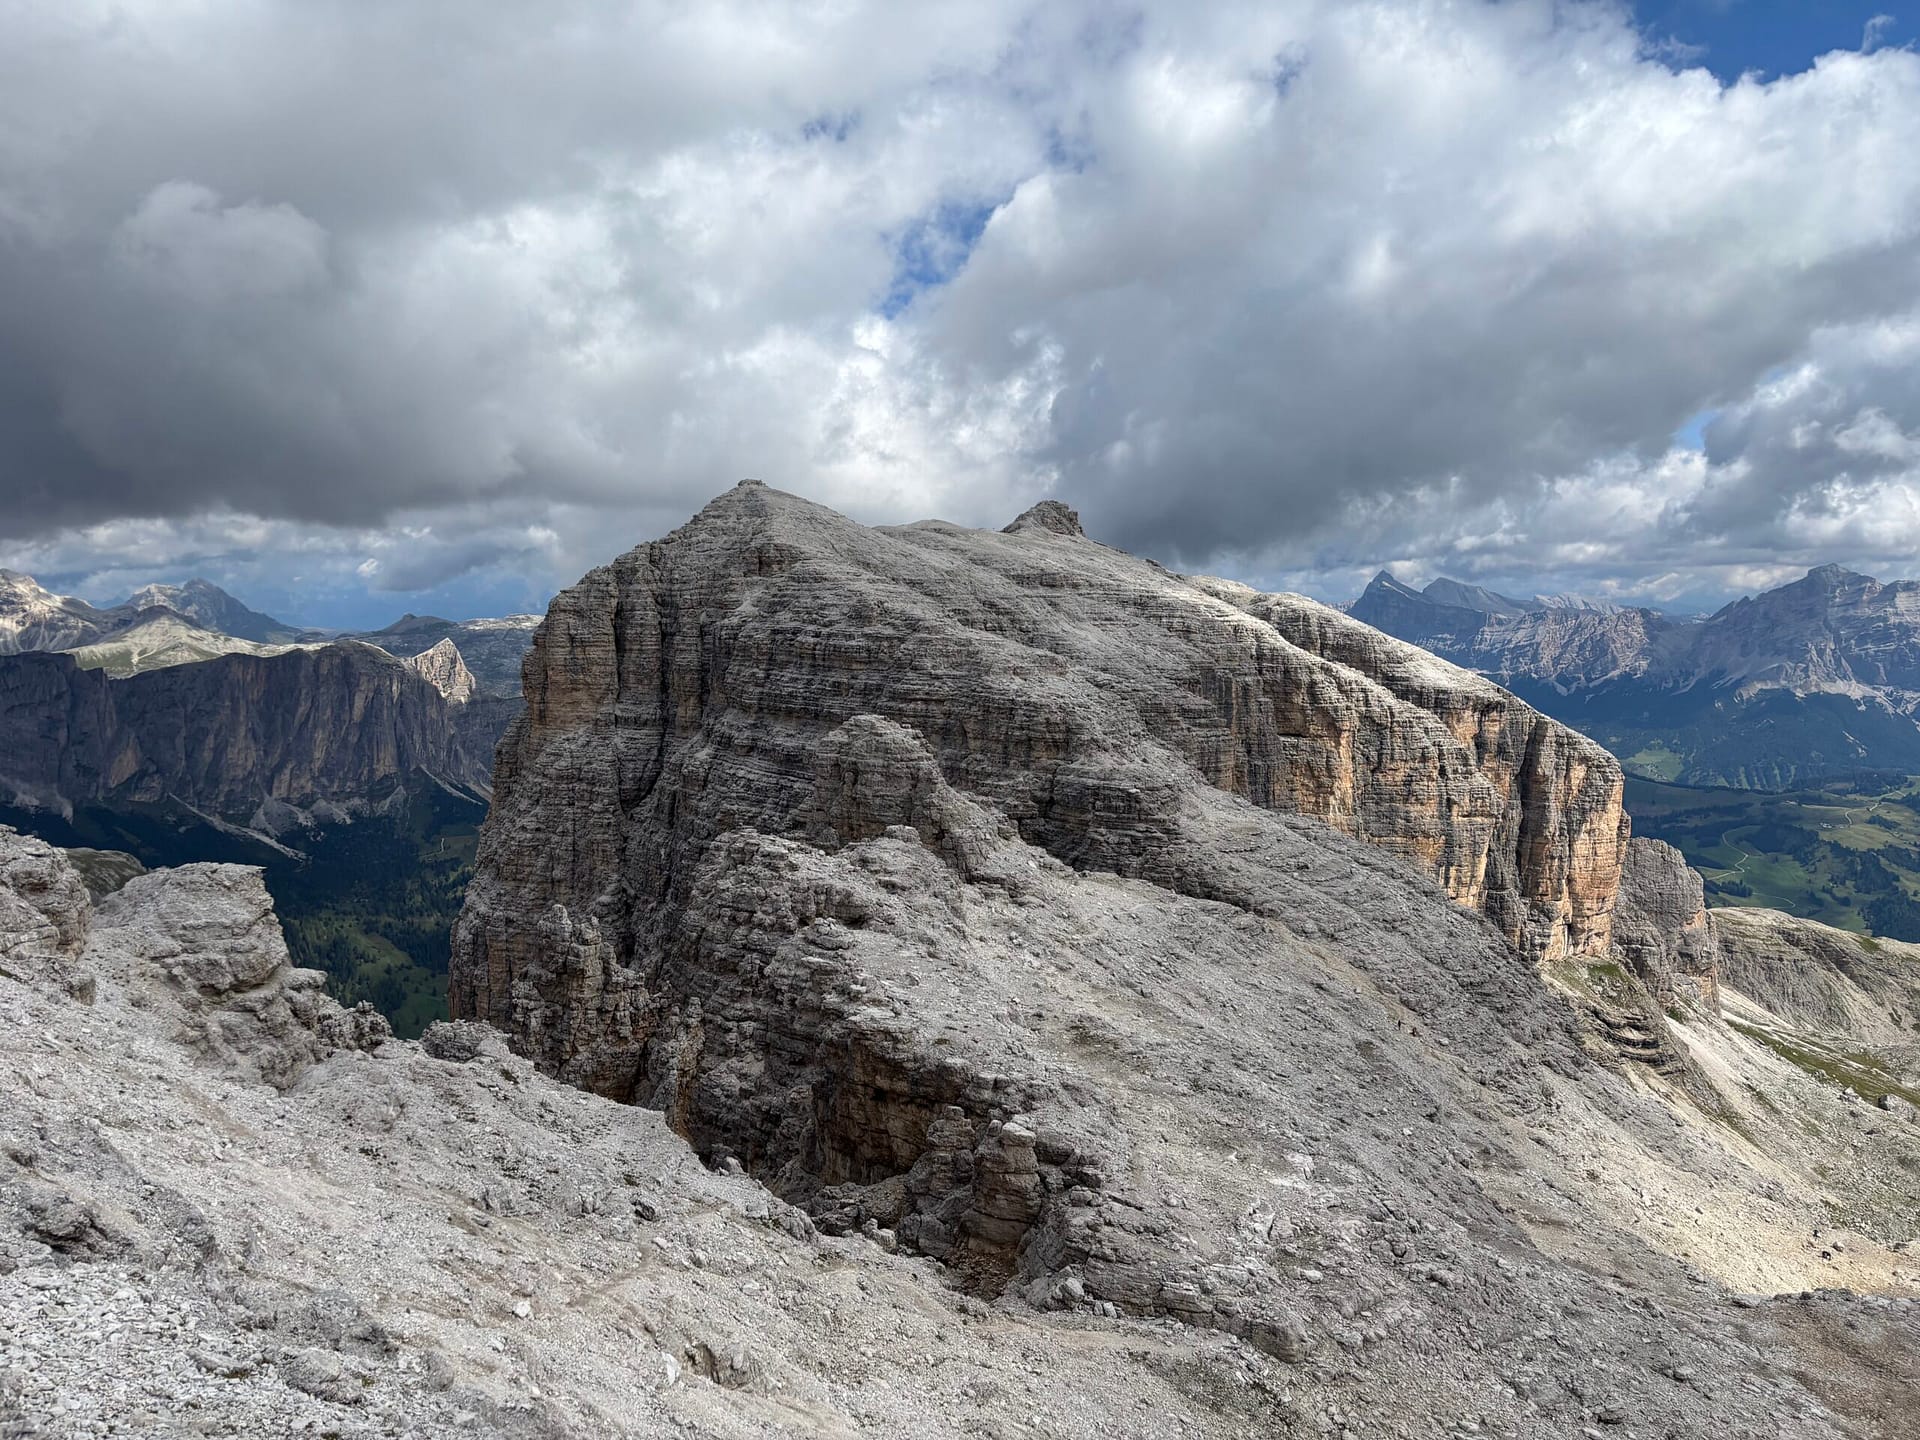
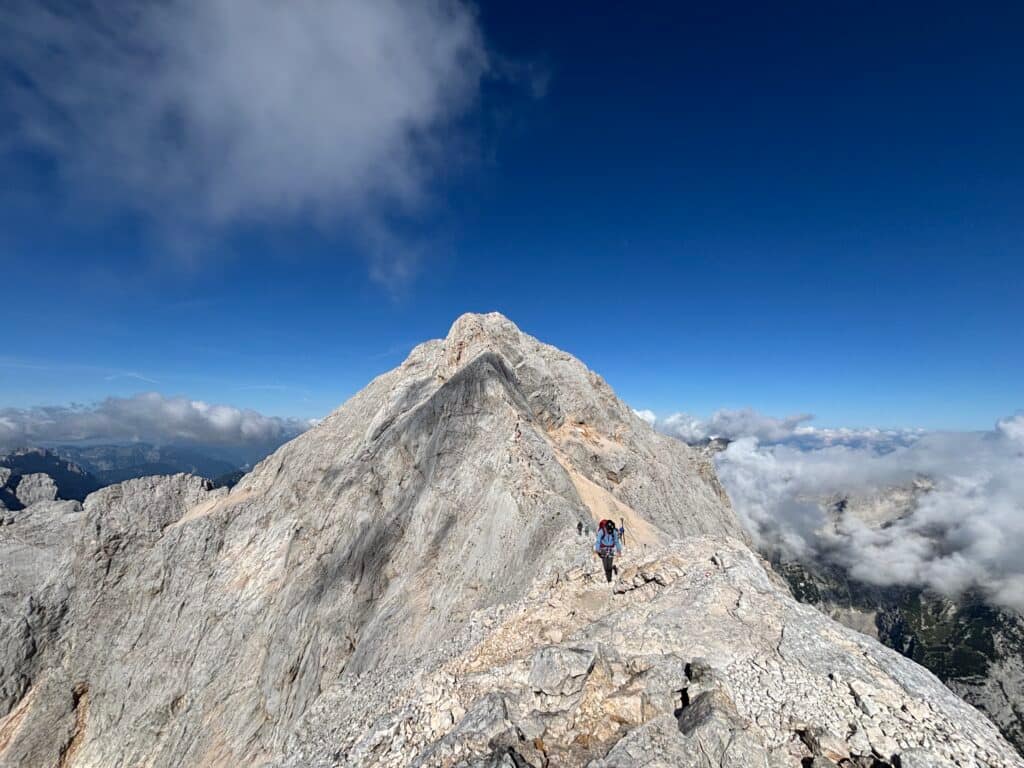
Stage #4: Piz Boè Summit
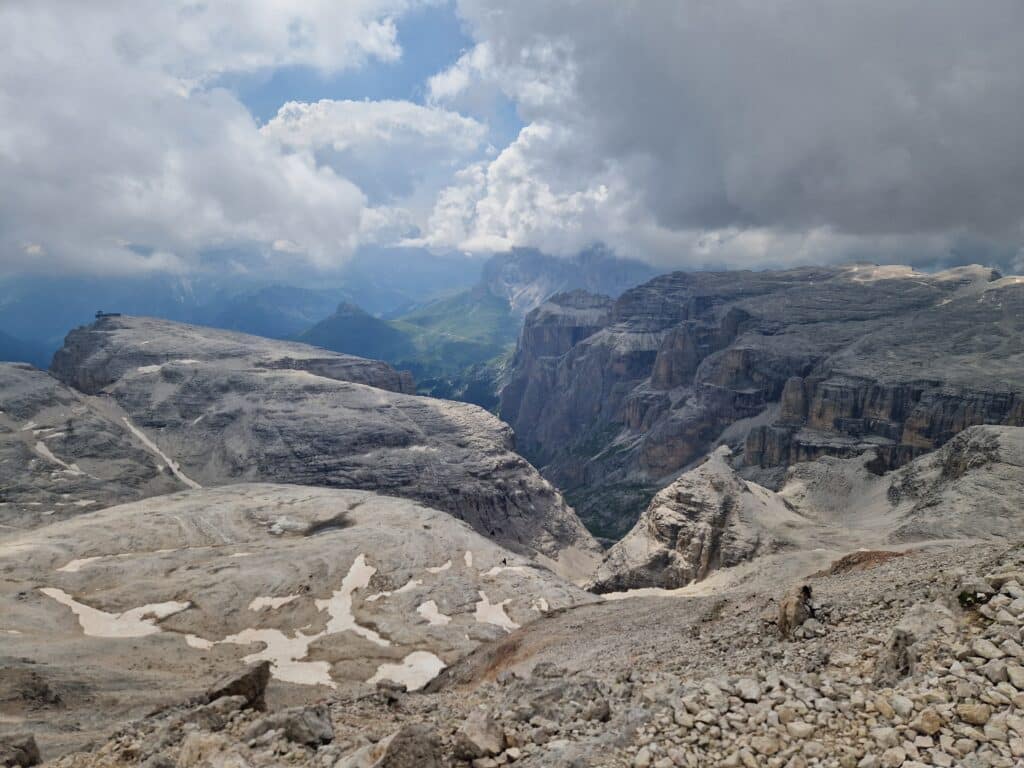
From there, the rest of the ferrata was relatively easy. In fact, the closer we got to the summit, the easier it became. In some places, the safety cables disappeared entirely, so we had to keep a sharp eye out for markers to stay on track. At the summit of Piz Boè, the Rifugio Capanna Piz Fassa was waiting for us, offering food and drinks—pure bliss. We were too late for a full meal (we started the route quite late) but we thoroughly enjoyed some coffee and cake.
Stage #5: The Descent
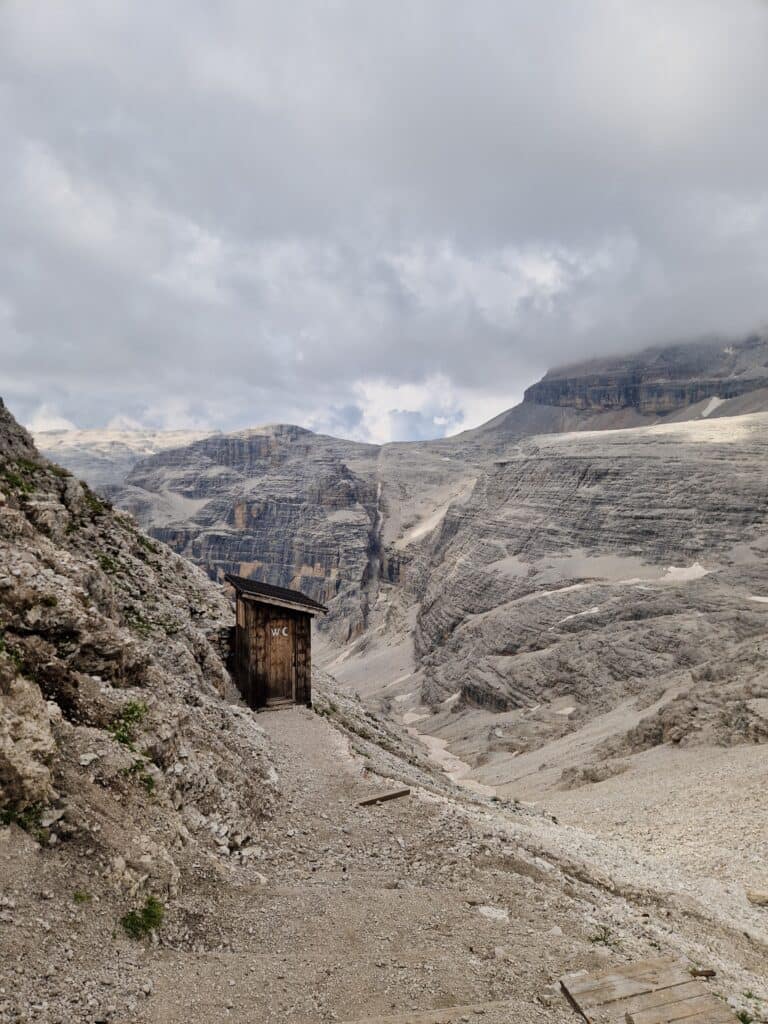
The descent from Piz Boè back to Passo Pordoi goes via Rifugio Maria. The walk down to that hut is fairly easy but incredibly scenic. The situation gets a bit tougher during the final stretch from Rifugio Maria down to Passo Pordoi. The path runs under the cable car and is quite steep, with most of it covered in loose gravel. My quads were absolutely screaming by the end of this descent. If your knees are up for it, the views are beautiful the whole way down. Otherwise, the Passo Pordoi–Sass Pordoi cable car is a great alternative. You can find its operating hours and prices on the Sass Pordoi website.
Frequently Asked Questions (FAQ)
Have you tried this via ferrata? Was it hard for you? Share in the comments below!
On Life and Mountains
For more via ferrata itineraries check the Via Ferratas page. If you are looking for hard routes I suggest you check the Monte Popera Circuit: A 4-Day Hut-to-Hut Via Ferrata Adventure.